How to make yogurt: a comprehensive guide
Category: fermentation,Learn
Yogurt, a creamy and tangy fermented dairy product, has been a staple in diets around the world for thousands of years. Its origins can be traced back to ancient civilizations, with some experts believing it was first discovered in Mesopotamia (current Iraq, as well as parts of Iran, Syria, and Turkey) around 5000 BCE. This fortuitous discovery probably occurred when milk stored in warm climates naturally fermented, creating a thicker, tangier and very tasty product that we now know as yogurt.
Over the centuries, yogurt has evolved from a simple method of preserving milk to a versatile food loved for its nutritional benefits and culinary applications. In this post, we’ll explore the fascinating world of yogurt-making, and provide you with the knowledge to create your own delicious homemade yogurt.

Understanding yogurt varieties
Before we dive into the yogurt-making process, it’s essential to understand that there is no one yogurt but in fact over 400 different types. These generally can be divided into the two main types: thermophilic and mesophilic. Both create yoghurt Each type requires different preparation methods and bacterial cultures, resulting in distinct flavors and textures.
Thermophilic yogurt
Thermophilic yogurt is the most common type found in grocery stores. It’s made using bacterial cultures that thrive in warm temperatures, typically between 43°C to 46°C (110°F to 115°F). It makes sense, thermo-phile means ‘heat loving’ Examples of thermophilic yogurts include:
These yogurts are known for their thick, creamy texture and tangy flavor. The higher incubation temperature results in a faster fermentation process, usually taking 4-8 hours.
Mesophilic yogurt
Mesophilic yogurt, on the other hand, is made with bacterial cultures that thrive at room temperature, typically between 21°C to 32°C (70°F to 90°F). These types of yoghurt have evolved in colder climates, such as Scandinavia or the Baltic states. Examples of mesophilic yogurts include:
These yogurts tend to have a milder, less tangy flavor and a thinner consistency compared to thermophilic varieties. The fermentation process for mesophilic yogurts is slower, often taking 12-24 hours.
Yogurt-making methods
Now that we understand the different types of yogurt, let’s explore the two primary methods for making yogurt at home: the backslopping method and the starter culture method. They both work for all mesophilic and thermophilic yoghurts, but have their pro’s and cons.
Backslopping method
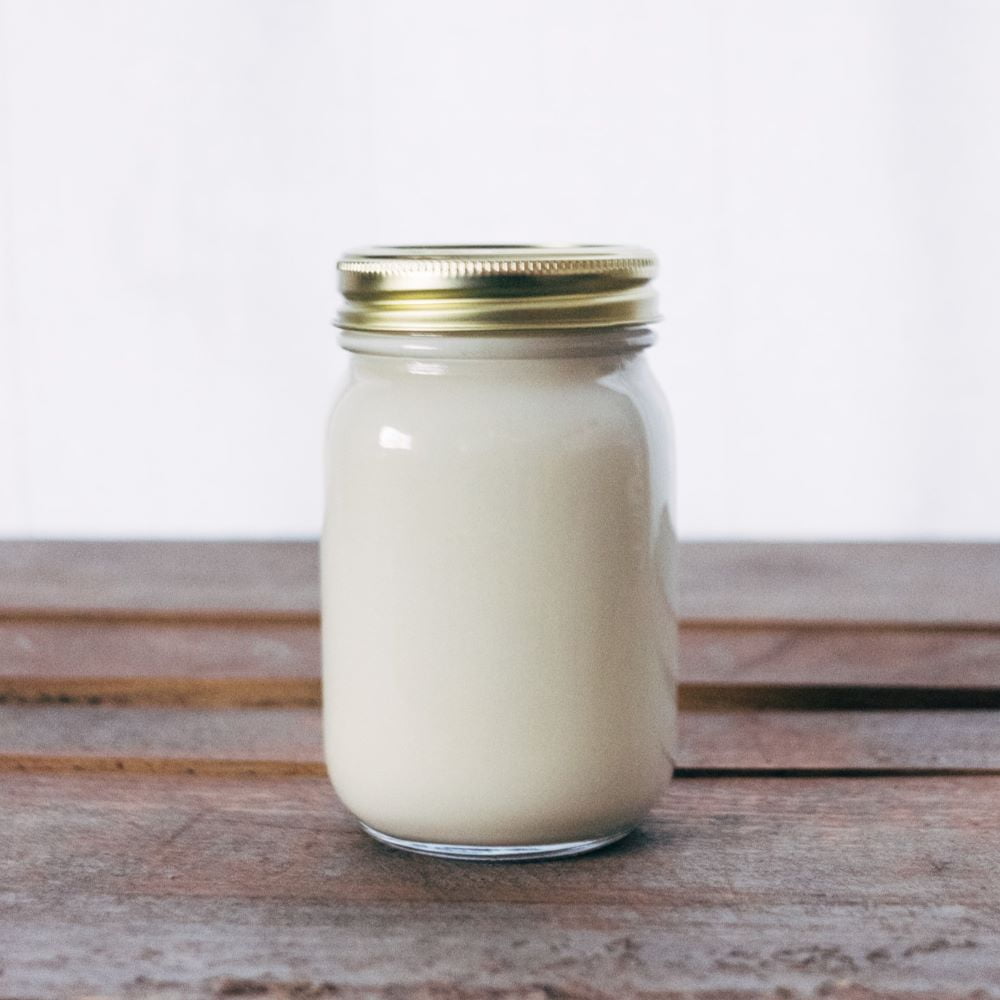
Backslopping is a traditional technique where a small amount of previously made yogurt is used to inoculate a new batch of milk. This method has been used for centuries and is still popular in many households today.
Pros of backslopping:
Cons of backslopping:

Starter culture method
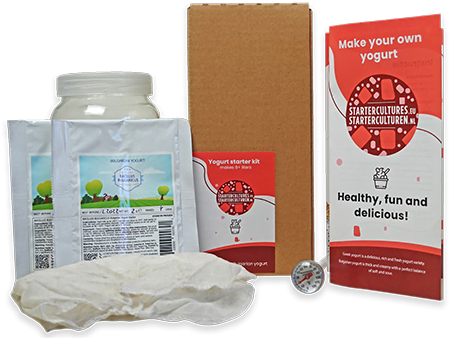
The starter culture method involves using commercially prepared bacterial cultures to inoculate milk. This method has gained popularity in recent years due to its consistency and reliability.
Pros of using starter cultures:
Cons of using starter cultures:
While both methods can produce delicious yogurt, using starter cultures offers more control and consistency in your yogurt-making process. This is especially important if you’re looking to create specific types of yogurt or want to ensure a high-quality product every time.
Tools and equipment
To make yogurt at home, you’ll need some basic equipment. While it’s possible to make yogurt with just a few kitchen items, having specialized tools can make the process easier and more consistent.
Essential tools:
Optional but helpful equipment:
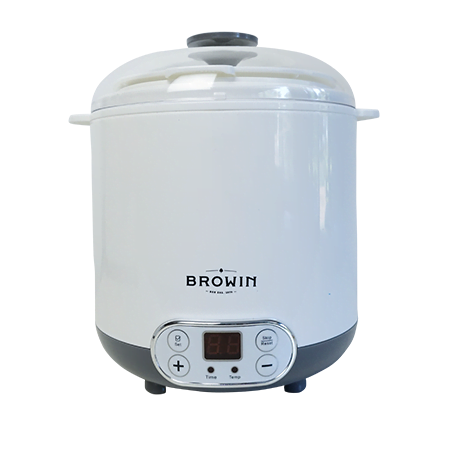
Having the right tools can significantly improve your yogurt-making experience, especially if you plan to make yogurt regularly. A reliable yogurt maker with adjustable temperature settings can be particularly valuable, as it allows you to experiment with different types of yogurt and achieve consistent results.
Step-by-step guide to making yogurt
Now that we’ve covered the basics, let’s walk through the process of making yogurt at home. We’ll provide instructions for both thermophilic and mesophilic yogurts, using both the starter culture and backslopping methods.
How to make thermophilic yogurt at home, step by step
Using a starter culture:
- 1Choose your milk:
– Any type of milk can be used, whole, 2%, or skim milk. Cows milk works best, though other types of animal milk will work too. The milk can be both raw, pasteurized or sterilized (UHT).
– For a richer yogurt, add cream or milk powder
- 2Heat the milk:
– Warm the milk to about 80-90°C and keep it at this temperature for around 10 minutes to denature proteins. Please do not skip this step as your yoghurt will remain runny.
PRO TIP: when using UHT milk, the heating fase is not necessary as the denaturing process already occurred during the UHT process. - 3Cool the milk:
– Let the milk cool to between 43°C and 46°C (110°F to 115°F)
- 4Add starter culture:
– Follow the instructions on your chosen starter culture
– Gently whisk the culture into the cooled milk - 5
Incubate:
– Maintain temperature at 43°C to 46°C (110°F to 115°F) for 4-8 hours
– Use a yogurt maker, Instant Pot, or insulated cooler to maintain temperature - 6Check for doneness:
– Yogurt should be set and have a tangy flavor
– Longer incubation results in tangier yogurt
- 7Refrigerate:
– Cool yogurt in the refrigerator for at least 4 hours before consuming
– For Greek-style yogurt, strain through cheesecloth to remove whey
How to make thermophilic yoghurt using the backslopping method:
Follow the same steps as above, but instead of a starter culture, use about a tablespoon of plain yogurt from your previous batch or a store-bought yogurt, per liter of milk. Ensure it’s plain yogurt without any additives such as fruits.
How to make Mesophilic yogurt at home, step by step
Using a starter culture:
- 1
Choose your milk:
– As with thermophilic yogurt, whole, 2%, or skim milk can be used - 2
Heat the milk:
– Warm the milk to about 80-90°C and keep it at this temperature for around 10 minutes to denature proteins. Please do not skip this step as your yoghurt will remain runny. - 3
Cool the milk:
– Cool the milk to about 30°C (86°F) - 4
Add starter culture:
– Mix in your mesophilic starter culture according to the package instructions
– Gently whisk the culture into the cooled milk - 5
Incubate:
– Keep the milk mixture at room temperature, between 21°C to 32°C (70°F to 90°F), for 12-36 hours
– A yogurt maker with adjustable settings is ideal, but a warm spot in your kitchen can work too
- 6
Check for doneness:
– Yogurt should be set and slightly tangy
– Remember, mesophilic yogurts are typically milder and thinner than thermophilic ones
- 7
Refrigerate:
– Chill the yogurt for at least 4 hours before enjoying
Making mesophilic yoghurt using the backslopping method:
Follow the same steps as above, but use around 1 tablespoon of yogurt from your previous batch or a store-bought mesophilic yogurt with live cultures instead of a starter culture, per liter of milk.
Remember, the key to successful yogurt-making is maintaining the proper temperature during incubation. This is where a reliable yogurt maker can be invaluable, especially one with adjustable settings for both thermophilic and mesophilic cultures.
Conclusion: it’s really that easy!
Making your own yogurt at home is a rewarding and delicious endeavor. Whether you choose thermophilic or mesophilic varieties, the process allows you to control the ingredients, flavor, and texture of your yogurt. While the backslopping method has its charms, using high-quality starter cultures can provide more consistent and diverse results, especially for those new to yogurt-making.
With the right tools and a bit of practice, you’ll soon be creating creamy, tangy yogurt that rivals any store-bought variety. So why not give it a try? Your taste buds, wallet and your gut bacteria will thank you!
About Meneer Wateetons
About Meneer Wateetons
Meneer Wateetons is a renowned Dutch foodwriter, teacher, fermentation specialist, sausage maker and the owner of startercultures.eu. He has written 9 books on culinary topics such as fermentation, alcohol making, sausages and charcuterie making and deep frying. He has taught many hobbyists, chefs and food professionals about these topics.
Related Posts
Is kefir healthy? Separating fact from fiction
Your Content Goes Here Your Content Goes Here You’ve heard about kefir of course. This tangy, fermented milk [...]

Is kombucha safe to drink? A comprehensive guide
Your Content Goes Here Your Content Goes Here Kombucha, a fizzy fermented tea, has become increasingly popular in [...]
Making your own Dutch Rookworst
In Dutch cuisine, there is one type of sausage that everyone knows: the typical Dutch ‘Rookworst’, which literally translate to ‘smoked sausage’. But what really makes a smoked sausage a true ‘Rookworst’, and how can you make it yourself?

