
Kefir is a delicious, nutrient-rich cultured milk drink that dates back many centuries to the shepherds of the Caucasus Mountains who carried milk stored in leather pouches where it would ferment into a slightly fizzy drink. It supports your immunity, metabolism, energy levels, gut health and also helps to maintain healthy teeth and bones.

How to reactivate your milk kefir grains
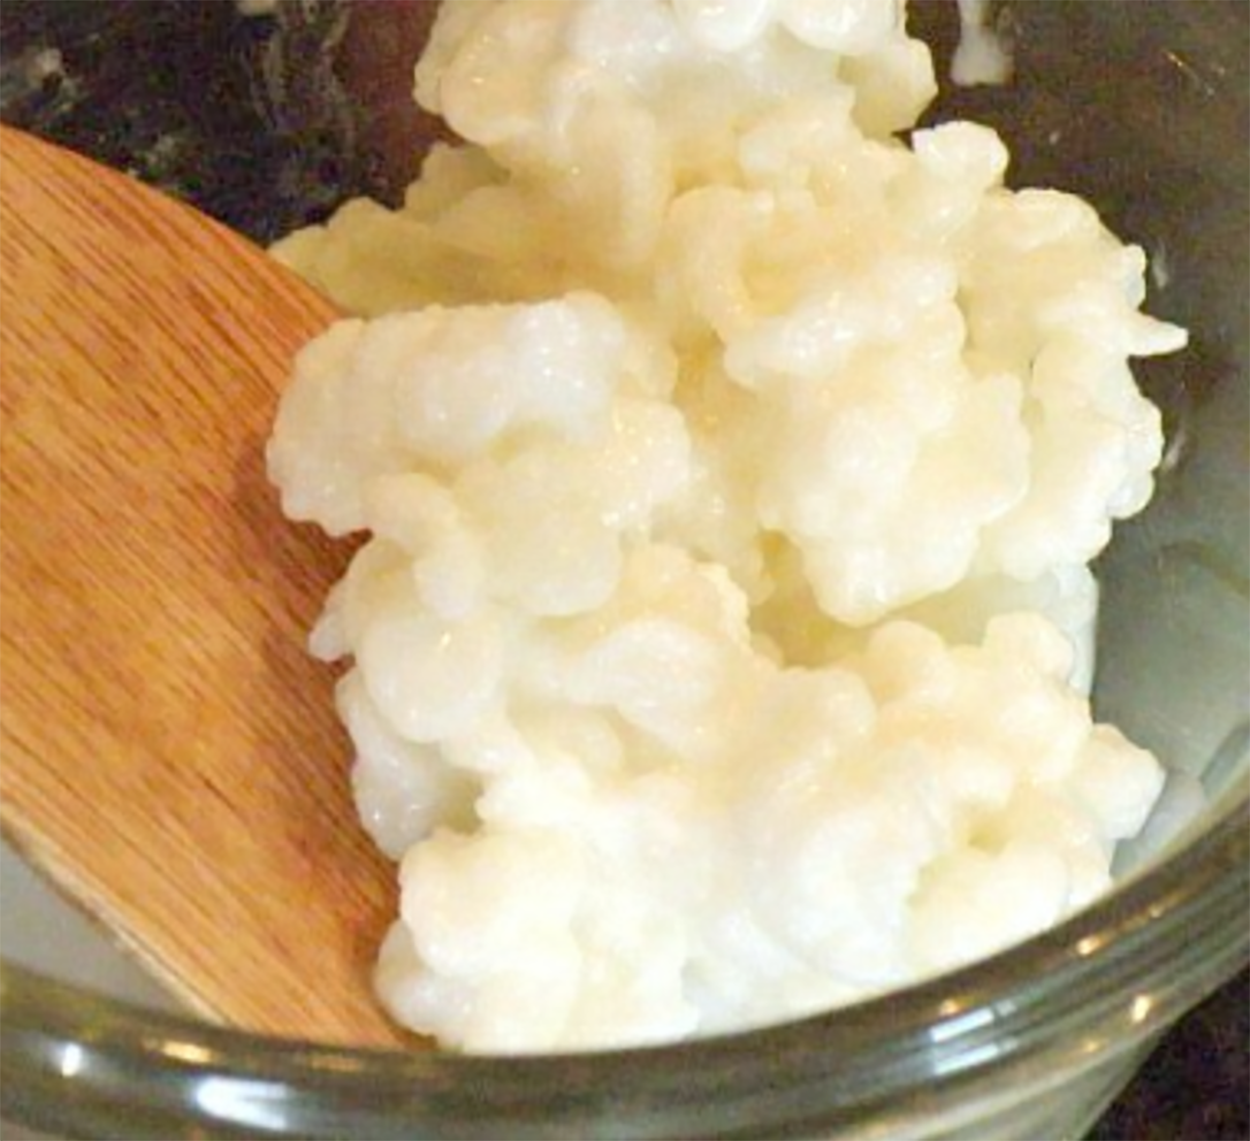
Milk kefir grains, once activated, should look like little cauliflowers. They also generally multiply very quickly (although this is not a necessity), so you can often start giving away kefir grains yourself within a few weeks. It’s the gift that keeps on giving. However, it doesn’t always run smoothly: sometimes the grains just don’t seem to like you, no matter what you undertake…. With these tips, we hope to get you back on track!
1. Proper acclimatization
Your recently received milk kefir grains need to adapt to their new home. Discard the first harvest (keeping the grains), which will have a bland taste. The second harvest is already a lot better, but only after a few weeks, it reaches its optimum. It can take even longer before a tingle becomes perceptible in the drink.
Especially in the first week, it is important that you always add a dash of extracted kefir drink to the new preparation. In this way, it “starts” better and spoilage is less likely, but even after that, this is a good habit to keep. Use the right amount of milk, and don’t switch milk types in the beginning.
2. Milk kefir: your new pet
The first thing to keep in mind is that milk kefir grains are living creatures: so you need to feed them adequately and protect them from stress as much as possible. Feel free to name them and treat them like your pet, as they need quite a bit of attention!
3. Using the right tools!
While it’s a little debatable, it is often advised to choose plastic strainers over metal ones and plastic or glass bottles or jars for fermentation and storage. You can use a special jar that guarantees a good start!

4. Feed your kefir adequately
The more grains you have, the more milk you need, since they feed on the milk sugars found in milk. As soon as they run out of milk sugars (lactose) they will starve. This is not always obvious, as kefir can quickly increase or decrease in quantity naturally. Therefore, it is wise to weigh your amount of grains weekly.
5. Stick with the ratio
An ideal ratio is 1 part kefir grains versus 10 parts milk (or 10g grains to 100ml milk) and repeat this about every 24 hours. Also, you can add a spoonful of milk powder as it contains a lot of lactose and thus a lot of nutrition for the grains. Or add a piece of organic dried fruit, such as a date or fig., or an extra spoonful of organic cane sugar.
6. Use the right milk
Which milk you choose is entirely your choice: goat’s milk (thinner result), sheep’s milk (creamier result), or cow’s milk,…. it doesn’t matter, all animal milk is fine. The fuller the milk, the creamier the result. You can use milk from the farm or just pasteurized milk from the store. If your kefir grains are not growing, you can possibly experiment with other types/brands of milk, or biological milk, to see if they react differently to one than the other.
Keep in mind that commercial milk is sometimes (over)pasteurized, something the grains don’t like. Please avoid lactose-free milk, because here the milk sugars have been artificially removed, and thus do not feed your grains. Coconut milk is sometimes experimented with as an alternative. This can be done, but it is very hard on the grains. If you like to try this, it is better to do it with a surplus of grains, alternating with regular milk so that the grains are fed back in time. Or just use a vegan milk kefir starter culture!
“It is wise to weigh your amount of grains weekly“
– The Kefir Watchers
7. With a little help from my friends
So the grains need the right nutrition in the right proportions to survive. Moreover, they also need to be able to absorb this nutrition optimally, and you sometimes need to give them a hand with that.
Often milk kefir grains are very small in the beginning, but as they gain strength, they grow in size and number. Once you notice that they grow in size but not in number, it is wise to gently split them by gently rubbing them open between your fingers with clean hands. This increases the surface area with which the pellets come in contact with the milk so they can absorb the nutrition better. You will find that they feel better again when they start multiplying again.
For the same reasons, it is also appropriate to occasionally give your jar a nudge so that the grains re-mix with the milk and come back in contact with the nutrition. It is not necessary to rinse your grains. You can feel free to do it once, but to minimize the ideal environment of the kefir, it is better to leave them alone and just give them fresh milk every time, without rinsing.
8. Adjust according to temperature
Keep in mind that temperature plays an important role in the fermentation process: lower temperatures slow down fermentation and the growth of the grains, and higher temperatures speed up the process. The ideal temperature is around 22-25°C and preferably stable.
So in summer, at higher temperatures, it is best to adjust your ratio from 1/10 to e.g. 1/7 to make sure the grains get enough nutrition. You may also want to process a little faster than after 24h and in winter when temperatures are colder, you may want to wait longer, up to 48h.
Want to know more?
If you want to know more about milk kefir, or just order it, please click the links below for the product on startercultures.eu
-
Product on sale
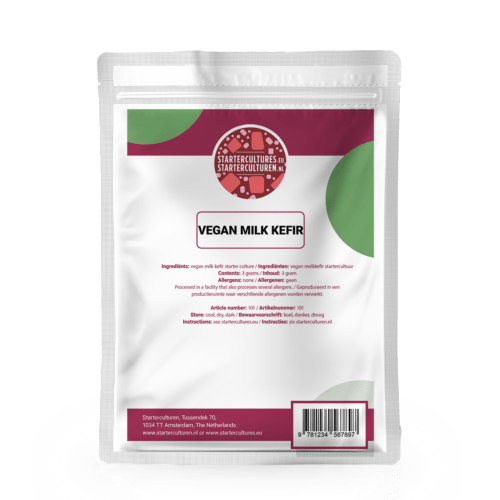 Vegan milk kefir starter cultureOriginal price was: €12,99.€11,69Current price is: €11,69.
 -
Product on sale
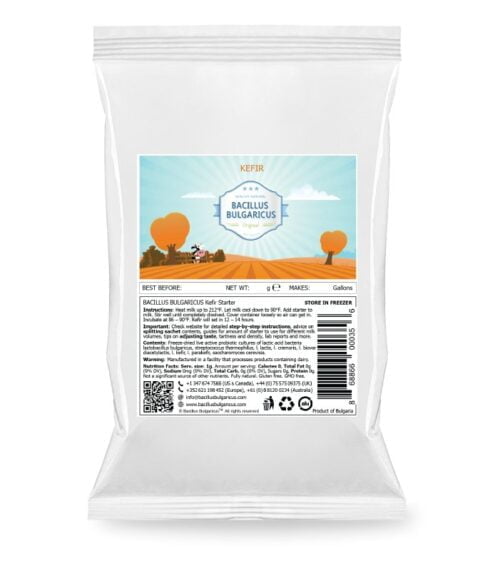 Milk kefir starter | make your own milk kefirOriginal price was: €11,99.€10,79Current price is: €10,79.


Leave A Comment