A Beginner’s Guide to Fermenting Vegetables
Category: Fermentation, Vegetables
Fermenting might sound like something for hippies or lab coat technicians, but nothing could be further from the truth. If you’ve ever eaten sauerkraut, you’ve already had fermented vegetables. And the good news is: it’s ridiculously easy to do it yourself. This post will guide you through everything you need to know to get started.
WHAT IS VEGETABLE FERMENTATION?
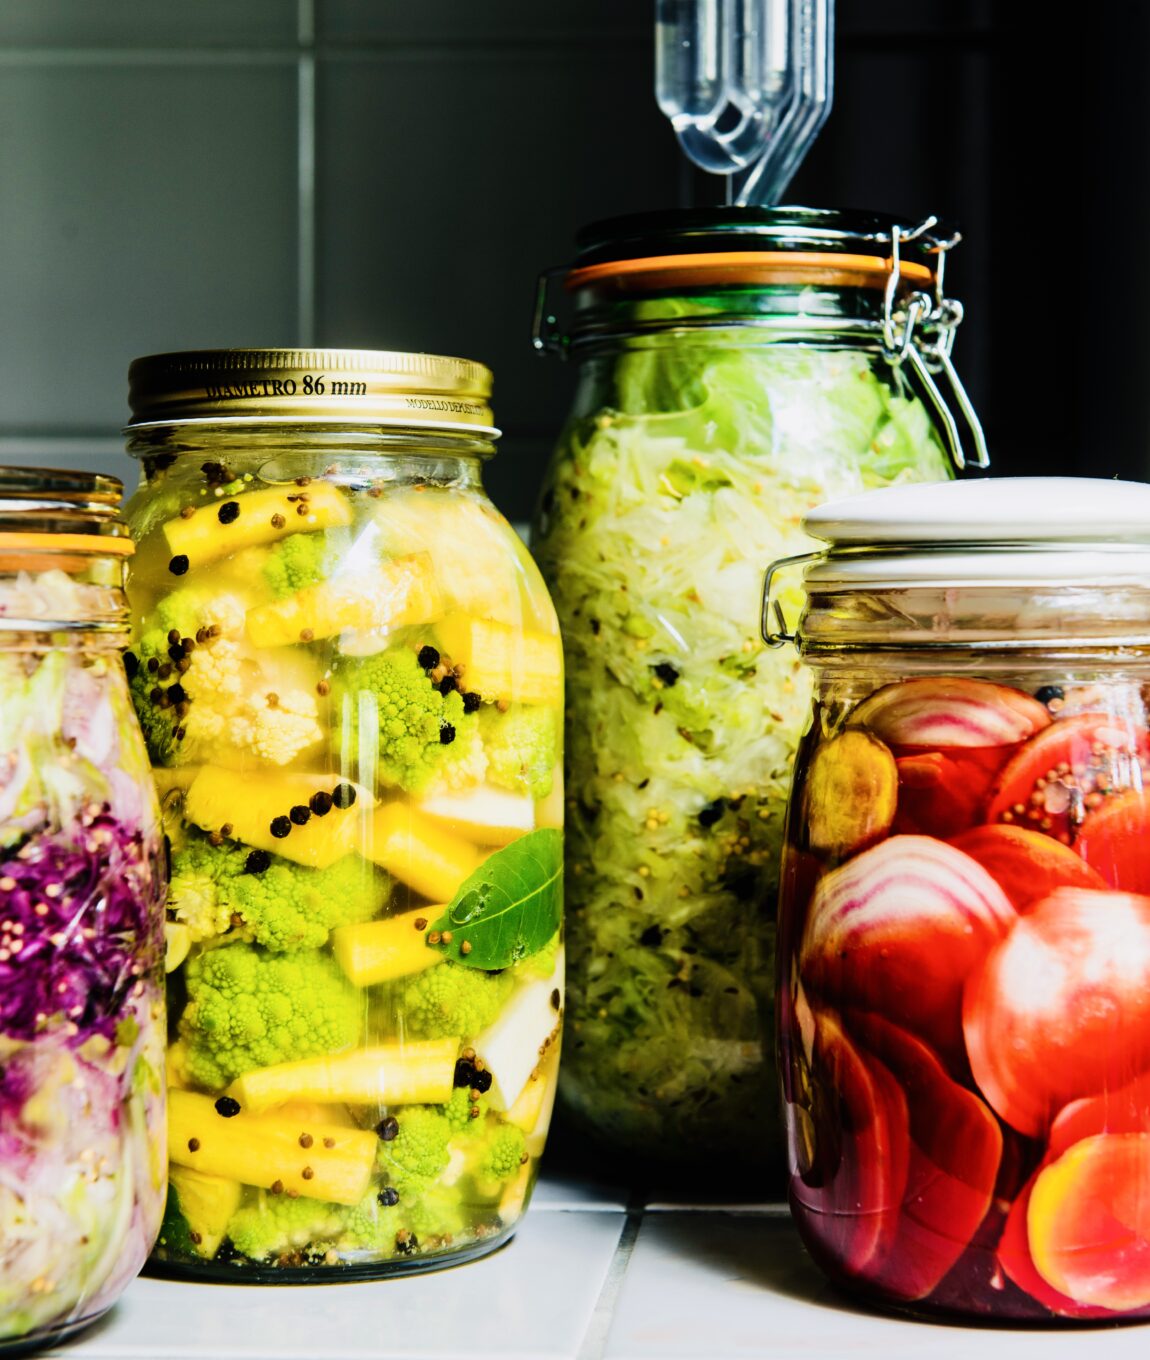
Vegetable fermentation is a form of lactic acid fermentation: sugars in the vegetables are converted into lactic acid by lactic acid bacteria that are naturally present on your vegetables. This lactic acid lowers the pH, inhibits unwanted bacteria, and ensures both preservation and flavor. These bacteria do more than just protect your vegetables from spoiling—they build a whole new flavor palette: fresher, more acidic, more complex. You don’t need to add anything extra: lactic acid bacteria, sugar, and moisture are all already in your vegetables. Take white cabbage: about 90% water, 1–3% sugar, and a colony of bacteria eager to get to work.
Which vegetables can you ferment?
Although sauerkraut is the most famous example of fermented vegetables, you can ferment many more: carrots, bell peppers, beets, chili peppers, cauliflower, sweet potato, parsnip, kohlrabi—they all participate enthusiastically. Hard vegetables usually do better than leafy greens, although exceptions like bok choy are definitely worth a try. The shape doesn’t matter much: slices, cubes, whole vegetables—it’s all possible, as long as you consider the moisture content and fermentation time. For example, a whole beet ferments more slowly than thin slices.

How to Prevent Failure in Vegetable Fermentation: salt and (no) oxygen
Your vegetables are full of all sorts of microorganisms: lactic acid bacteria (good), but also yeasts, molds, and pathogenic bacteria (less good). They compete for the available sugars and oxygen. To give the right bacteria the upper hand, you need to do two things: Add salt and keep oxygen out. Let’s look at each.
1. Adding Salt: Your First Defense
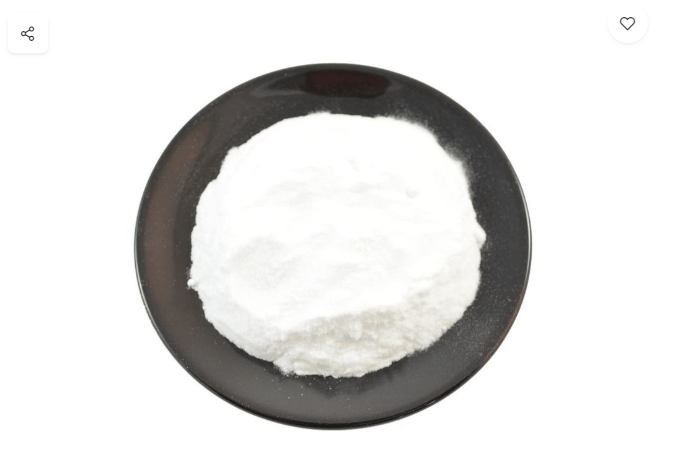
Salt is your first line of defense. With 2% salt (that’s 20 grams per kilo of vegetables), you give lactic acid bacteria a head start. Less than 2% is risky, as it gives yeasts and molds a chance. More salt also inhibits the good bacteria and it becomes very salty. Salt also draws moisture from your vegetables, which is useful for things like white cabbage: it produces enough of its own brine to be fully submerged.
2. Keeping Oxygen Out: The Anaerobic Advantage
Lactic acid bacteria prefer to do their work without oxygen (anaerobically). Most other microbes love oxygen, so you want to cut them off. This can be done in three ways:
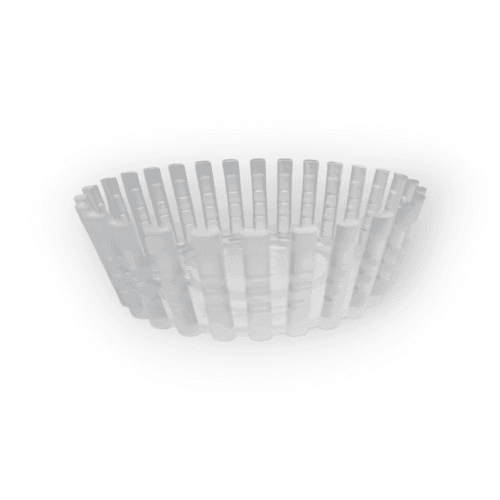
a) Fermenting under water: Keep your vegetables completely submerged in their own brine or an added brine. Use a weight to keep everything down.
b) Airlock: A jar with an airlock allows gases to escape but lets no air in. Ideal: you don’t have to “burp” it daily, and molds don’t stand a chance.
c) Vacuum fermentation: Put vegetables and salt in a vacuum bag, seal it, and you’re done. It uses plastic, but your fermentation is safe and tightly controlled.

preparation
1. Finely shred the cabbage. Remove the outer leaves and the hard core.
2. Mix with salt and spices.
3. Knead/abuse until enough liquid is released.
4. Pack into the jar and press down firmly.
5. Ensure the cabbage is completely submerged in brine (use a cabbage leaf and a weight if necessary).
6. Seal with an airlock or other method.
7. Ferment for 1–3 weeks at 18–21 °C (64–70 °F).
8. Taste regularly. Ready? Store it in the refrigerator.
9. Any mold on the surface: just scoop it off.
FREQUENTLY ASKED QUESTIONS ABOUT FERMENTING VEGETABLES
Want to learn more? Take our comprehensive vegetable fermentation course
Safely and creatively
In 30+ bite sized English spoken video lessons you will learn all about making fermented vegetables at home, without the need for special tools.
- Learn to ferment all vegetables
- Save money, by never having to buy fermented vegetables again
- Incite your culinairy creativity
- Promote your probiotics
- Many free bonusses: including a FREE bonuscourse: the basics of fermentation.
by Fermentation fundamentals
This course is part of our Fermentation Fundamentals education program.
About the Author (Meneer Wateetons)
Meneer Wateetons is a renowned Dutch foodwriter, teacher, fermentation specialist, sausage maker and the owner of startercultures.eu. He has written 9 books on culinary topics such as fermentation, alcohol making, sausages and charcuterie making and deep frying. He has taught many hobbyists, chefs and food professionals about these topics.
Related Posts

How to make cheese (including a recipe)
How do you make cheese? In this blog post we will teach you the basics of cheese making, including a recipe for your first Gouda style cheese!
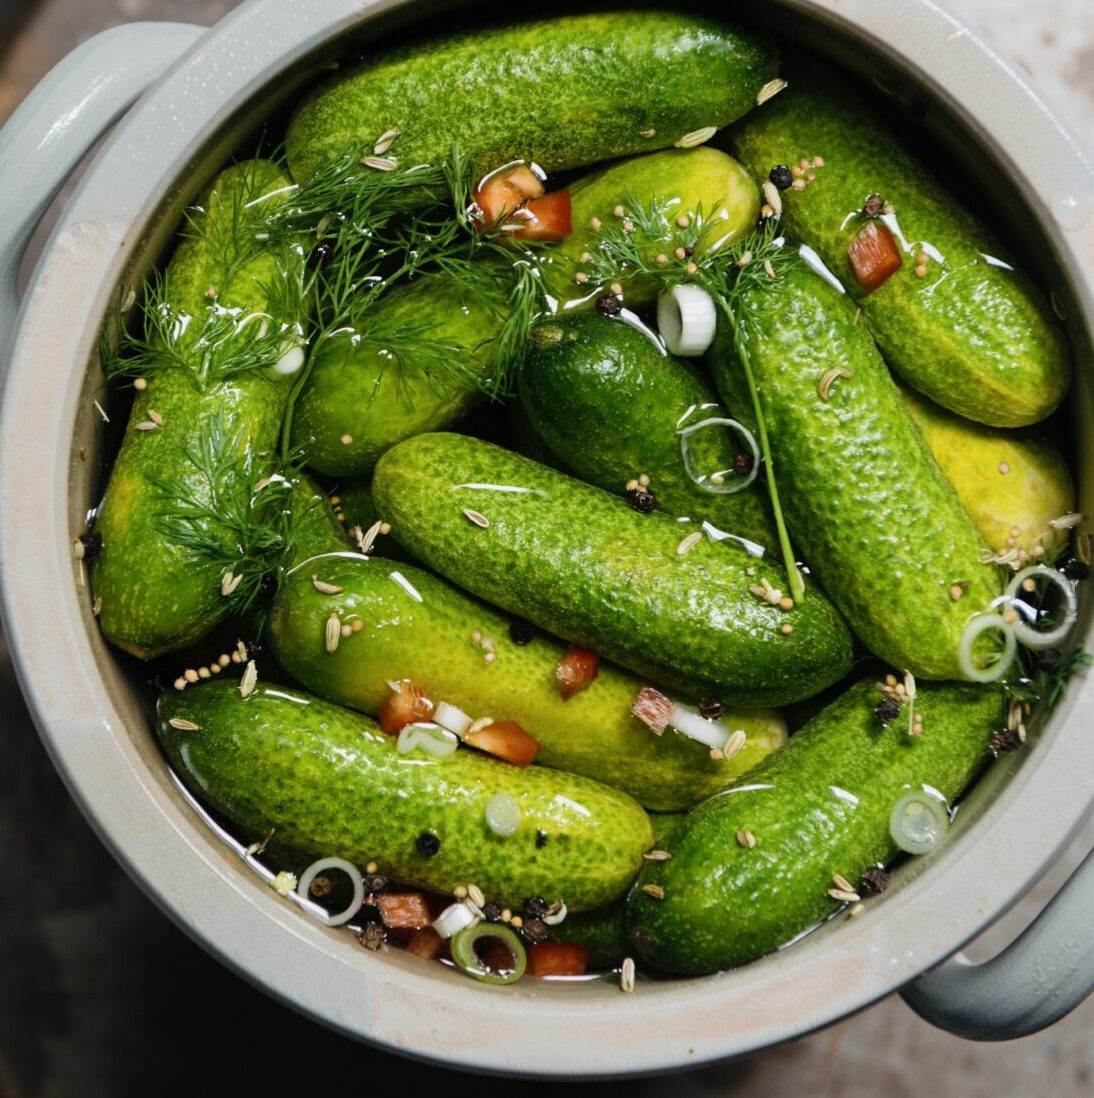
How to make your own real fermented pickles
Learn how to make your own crunchy fermented pickles. Easy recipe with tips, variations, and answers to common questions.

How to make -actually fermented- vegan cheese at home
Remember those sad, rubbery blocks that passed for vegan cheese a decade ago? Thank goodness those days are behind us. Thanks to dedicated pioneers and fermentation enthusiasts, we can now create vegan cheeses at home that actually compete with their dairy counterparts in both taste and texture. In this blog we'll teach you how to.

