How to make pickles? Fermenting your own pickles
Category: Fermentation, Pickles
Making your own pickles is much easier than you think. And the best part: real pickles are fermented vegetables, not pickled in vinegar but flavored by lactic acid bacteria. This gives them that complex, fresh, slightly sour taste that you never get from a supermarket jar. With fresh small cucumbers, salt, water, and a few flavorings, you can get started. Within a week, you’ll have your first batch of crispy, homemade pickles ready.
WHAT IS FERMENTATION?
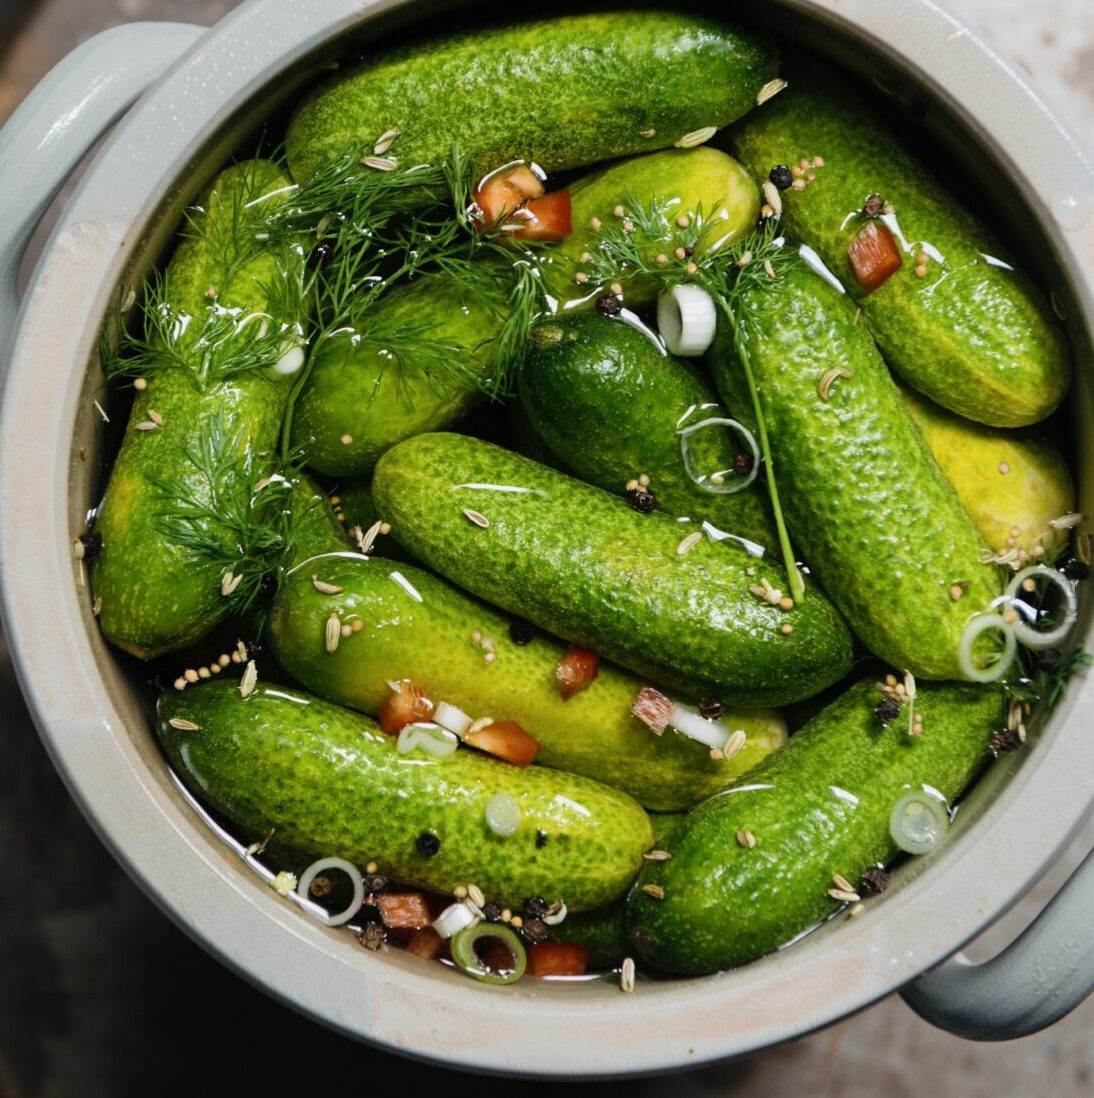
Fermentation is the process where microorganisms such as bacteria, yeasts, or molds convert sugars in food into other substances like lactic acid, alcohol, or acetic acid. With pickles, it’s about lactic acid fermentation. In this process, lactic acid bacteria convert the sugars in the cucumber into lactic acid. This lowers the pH, prevents spoilage, and provides a fresh, complex taste. It is a natural preservation method that has been used for centuries.
Why Ferment Pickles?
Most pickles from the supermarket are acidified in vinegar. Tasty, but often a bit one-dimensional in flavor. Fermented pickles develop a richer aroma thanks to lactic acid bacteria and retain their crispy bite. Fermenting is:
- Simple, no complicated techniques or expensive equipment needed
- Healthy, full of probiotics and vitamins
- Creative, because you can vary endlessly with herbs and spices
THE RIGHT CUCUMBERS, EQUIPMENT AND SAFETY
You don’t need special equipment. A glass preserving jar or a stone sauerkraut crock works perfectly. Even a simple canning jar will do, as long as you prevent oxygen from getting in. The choice of cucumber, and the amount of salt however, is key for a crispy result ánd safe result.
1. Choose the Right Cucumbers
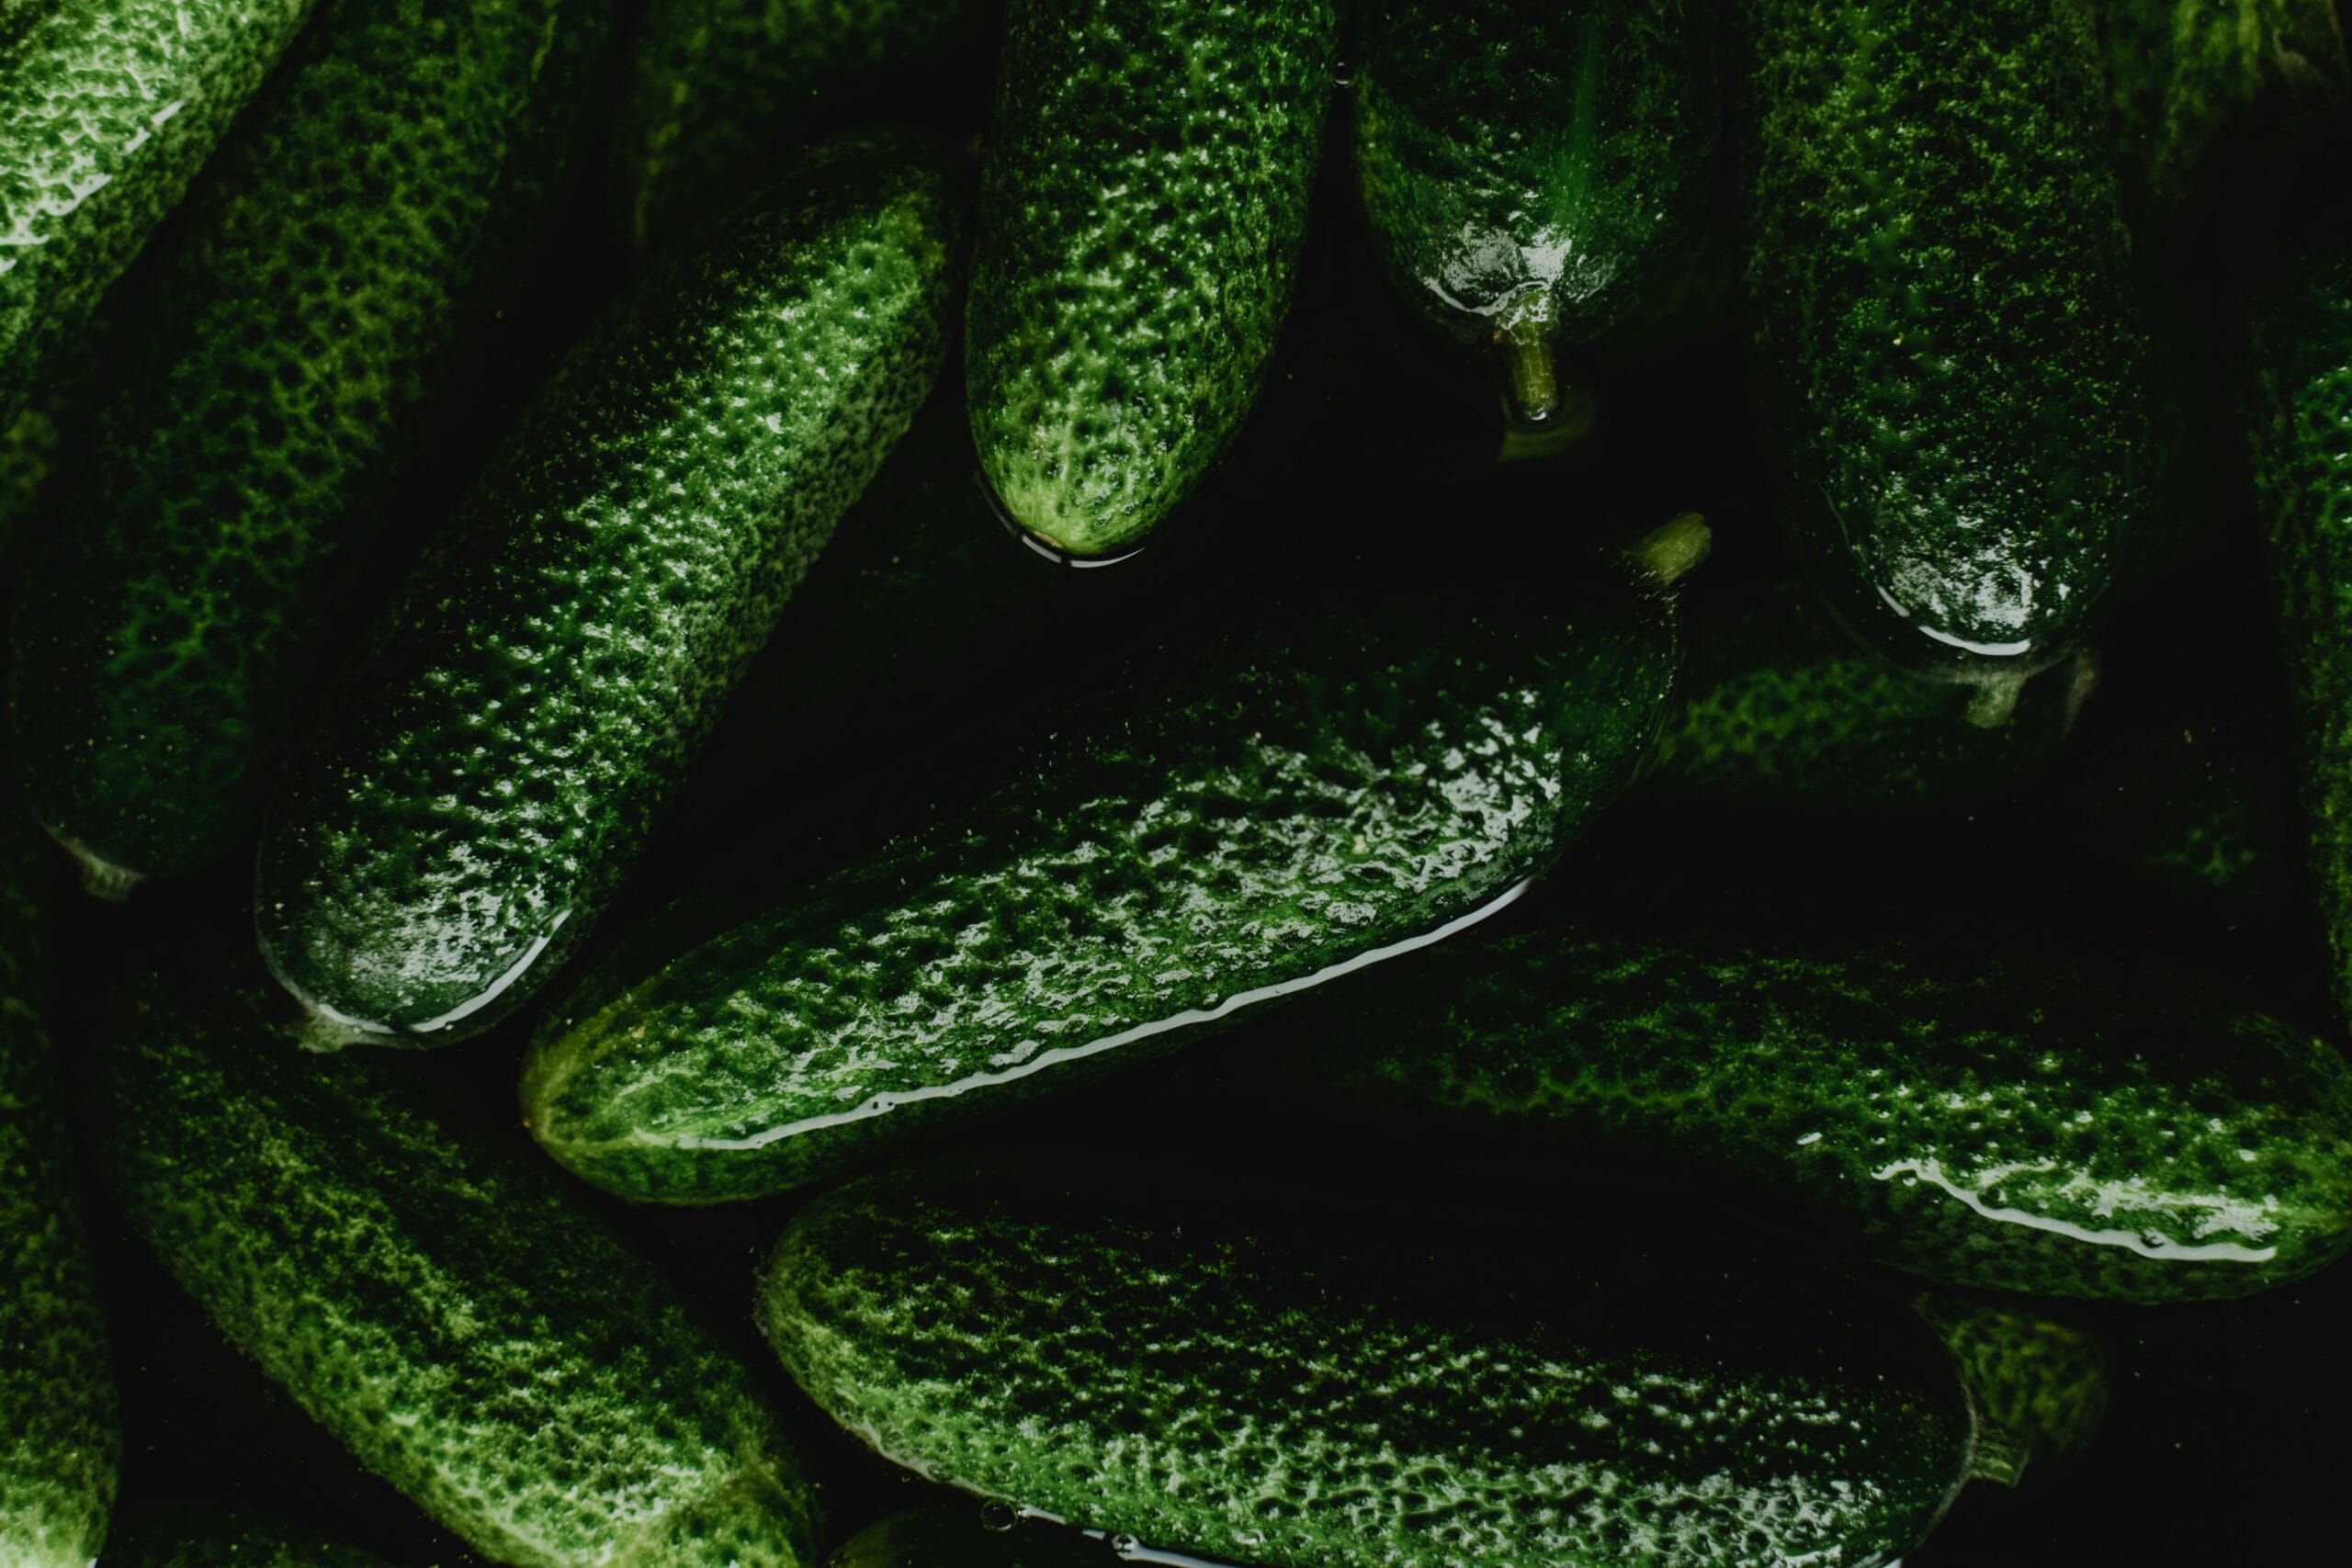
For the tastiest and firmest pickles, use small, firm pickling cucumbers. You can often recognize them by their slightly bumpy skin and compact shape. They contain less water than regular cucumbers, which helps them stay crispier during fermentation. Use freshly harvested cucumbers and avoid soft or damaged ones.
2. Add the right amount of salt
With 2% salt (that’s 20 grams per kilo of vegetables), you give lactic acid bacteria a head start. Less than 2% is risky, as it gives yeasts and molds a chance. More salt also inhibits the good bacteria and it becomes very salty quickly. Salt also draws moisture from your vegetables, which is useful for things like white cabbage: it produces enough of its own brine to be fully submerged. However, this requires the cabbage to be heavily massaged, which we cannot do with our cucumbers, as we’ll squish them. Instead we add a brine (salty liquid).
HOW TO CALCULATE THE AMOUNT OF SALT
You basically have two options: estimate or calculate. The estimate-option is easy: make a 5% brine (so around 50 grams of salt per liter) and simply submerge your pickles in this brine. This will give you roughly the right salt-level. The calculate-option is more precise: (the cucumbers + the amount of water needed to submerge them) * 2%. So, if you have 500 grams of cucumbers and 500 grams of water = 1 kg. 2% of 1 kg = 20 grams. Then add 20 grams of salt.
2. Ensure an anaerobic environment
Lactic acid bacteria work best without oxygen (anaerobically). Most other unwanted microbes, like molds, need oxygen. So, the trick is to keep your cucumbers submerged in the salt brine at all times. Use a weight to keep them down and a jar with an airlock to let fermentation gasses escape without letting air in.

preparation
1. Wash the cucumbers and remove the blossom end to prevent them from getting soft.
2. Chop the onion and bell pepper.
3. Place cucumbers, onion, pepper, and all spices in your clean jar.
4. Weigh the jar with vegetables. Add water to cover everything. Weigh again. Calculate 2% of the total weight (vegetables + water) and add that amount of salt. Stir to dissolve.
5. Make sure all vegetables are completely submerged in the brine. Use a fermentation weight to keep everything down.
6. Seal the jar, preferably with an airlock.
7. Let it ferment for about one week at room temperature (18–21 °C / 64–70 °F).
8. Taste regularly. Once they are sour and crispy enough for your liking, move the jar to the refrigerator to stop the fermentation.
FREQUENTLY ASKED QUESTIONS ABOUT FERMENTING PICKLES
Want to learn more? Take our comprehensive vegetable fermentation course
Safely and creatively
In 30+ bite sized English spoken video lessons you will learn all about making fermented vegetables at home, without the need for special tools.
- Learn to ferment all vegetables
- Save money, by never having to buy fermented vegetables again
- Incite your culinairy creativity
- Promote your probiotics
- Many free bonusses: including a FREE bonuscourse: the basics of fermentation.
by Fermentation fundamentals
This course is part of our Fermentation Fundamentals education program.


About the author (Meneer Wateetons)
Meneer Wateetons (a pseudonym derived from the name of his blog, which literally means ‘Mr. what-eats-us’) is a renowned Dutch food writer, PhD scientist, teacher, fermentation expert, sausage maker, and the owner of startercultures.eu. He has written nine books on culinary topics such as fermentation, alcohol production, sausage and charcuterie making, and deep-frying. Through his books, (online) courses, and corporate trainings, he has shared his knowledge with countless hobby cooks, chefs, and food professionals. Learn more about Meneer Wateetons.
Related Posts

How to make cheese (including a recipe)
How do you make cheese? In this blog post we will teach you the basics of cheese making, including a recipe for your first Gouda style cheese!
How to Ferment Vegetables: A Beginner’s Step-by-Step Guide
Learn the simple art of vegetable fermentation. This guide covers the science, the right salt ratio, and includes an easy sauerkraut recipe to start your first successful ferment today.

How to make -actually fermented- vegan cheese at home
Remember those sad, rubbery blocks that passed for vegan cheese a decade ago? Thank goodness those days are behind us. Thanks to dedicated pioneers and fermentation enthusiasts, we can now create vegan cheeses at home that actually compete with their dairy counterparts in both taste and texture. In this blog we'll teach you how to.

