How to make cheese (including a recipe)
How do you make cheese? Making cheese might seem like an arcane craft reserved for specialized artisans, but you can create excellent cheese at home using regular store-bought milk. All you need is patience, the right ingredients, and a bit of understanding of the science.
Making your own cheese gives you insight into one of the world’s oldest food preservation techniques and a profound respect for the craft. Your first attempt might not be perfect, and that’s perfectly fine—every wheel is a lesson. Just keep at it, and every cheese will be better!
In this blog post we will teach you the basics of cheese making, including a recipe for your first Gouda style cheese!
The Enormous Diversity of Cheeses

There are literally hundreds of different cheese varieties worldwide, each with their own characteristics and production techniques. This blog post focuses on the basic principles – it would be impossible to cover all variations in a single article. But to illustrate the diversity:
A Camembert, for example, isn’t pressed like hard cheeses, but instead gets a coating of Penicillium candidum mold that ripens from the outside in. A Munster or Époisses, on the other hand, gets regular washes with Brevibacterium linens bacteria during aging, which creates that characteristic orange rind and intense aroma. Blue cheeses like Roquefort are pierced with needles so the Penicillium roqueforti mold gets oxygen to grow.
Every cheese type has its own specific techniques, temperatures, cultures, and aging times. However, we’ll start with the basics: a classic hard cheese like Gouda.
The Four Pillars of Cheesemaking
While there are hundreds of cheese varieties—from bloomy-rinded Camembert to washed-rind Munster—they are all built upon the same four pillars. Mastering these fundamentals is the key to making any cheese.
1. MILK
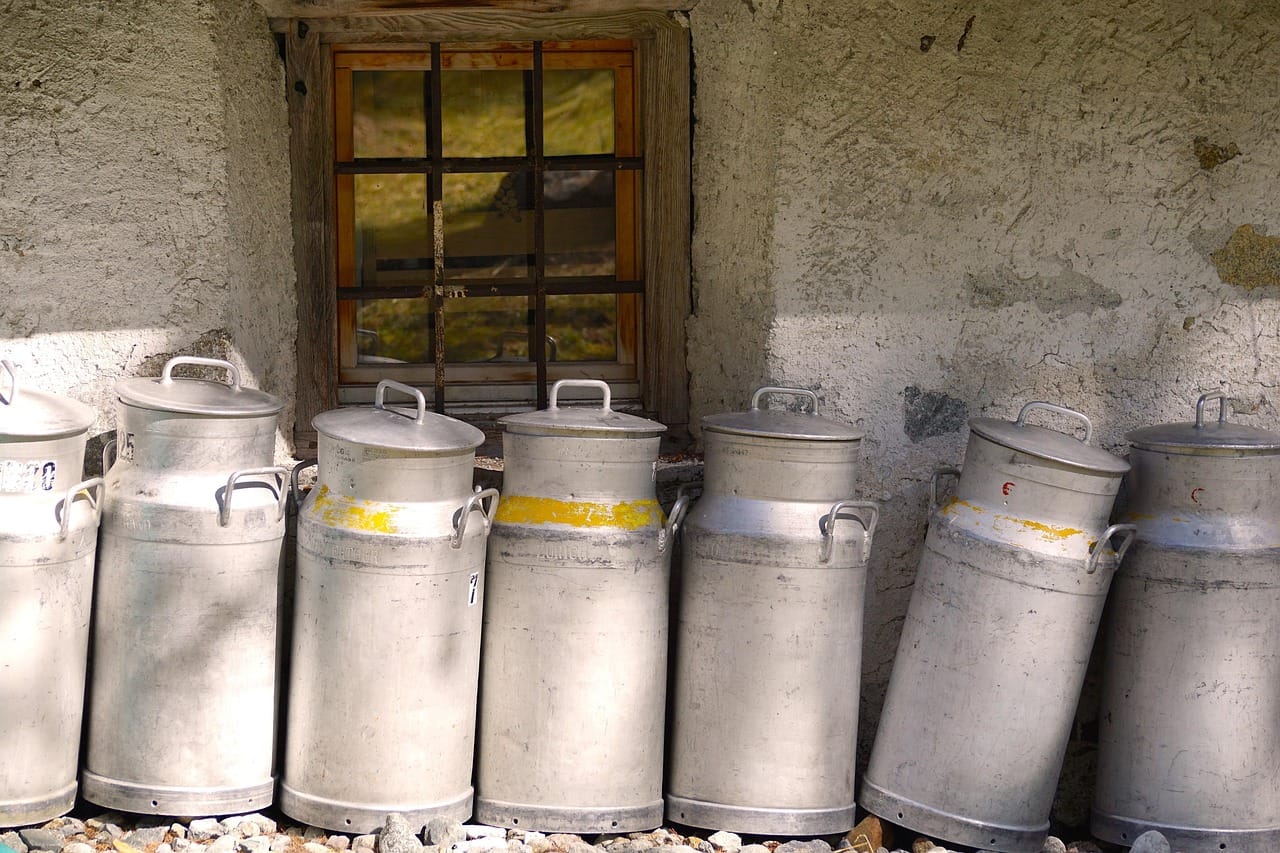
MMilk of course is the foundation of all cheese. For consistent results at home, use store-bought whole milk that is pasteurized but not ultra-pasteurized (UHT), as UHT milk will not form a proper curd. Pasteurization damages calcium, which is vital for coagulation. To remedy this, we add food-grade calcium chloride to restore the milk’s calcium balance, ensuring a firm curd set. You can also use raw milk, it works great and very tasty but it may pose a slight risk.
2. STARTER CULTURES
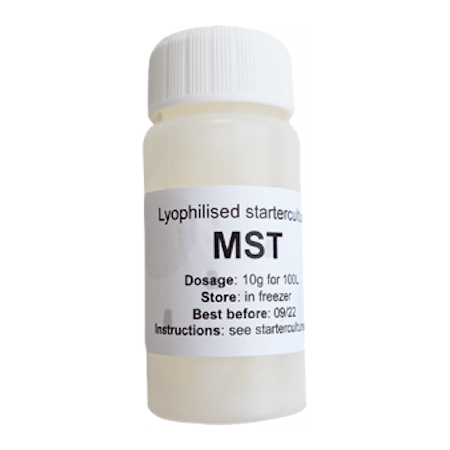
These are specific strains of bacteria that convert the milk’s sugar (lactose) into lactic acid. This acidification is crucial for flavor development, preservation, and creating the right environment for rennet to work. Additionally, there are so called secundairy cultures like molds that make the difference between camembert of roquefort.
3. RENNET
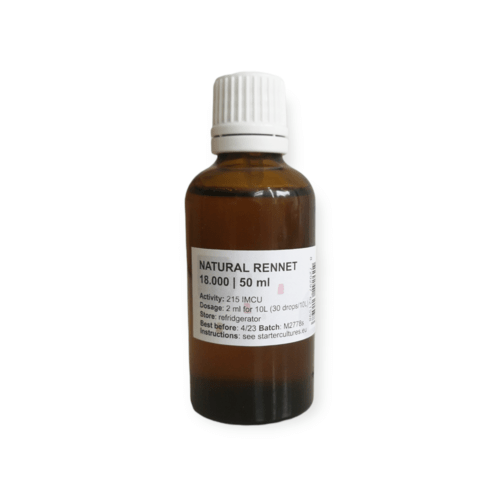
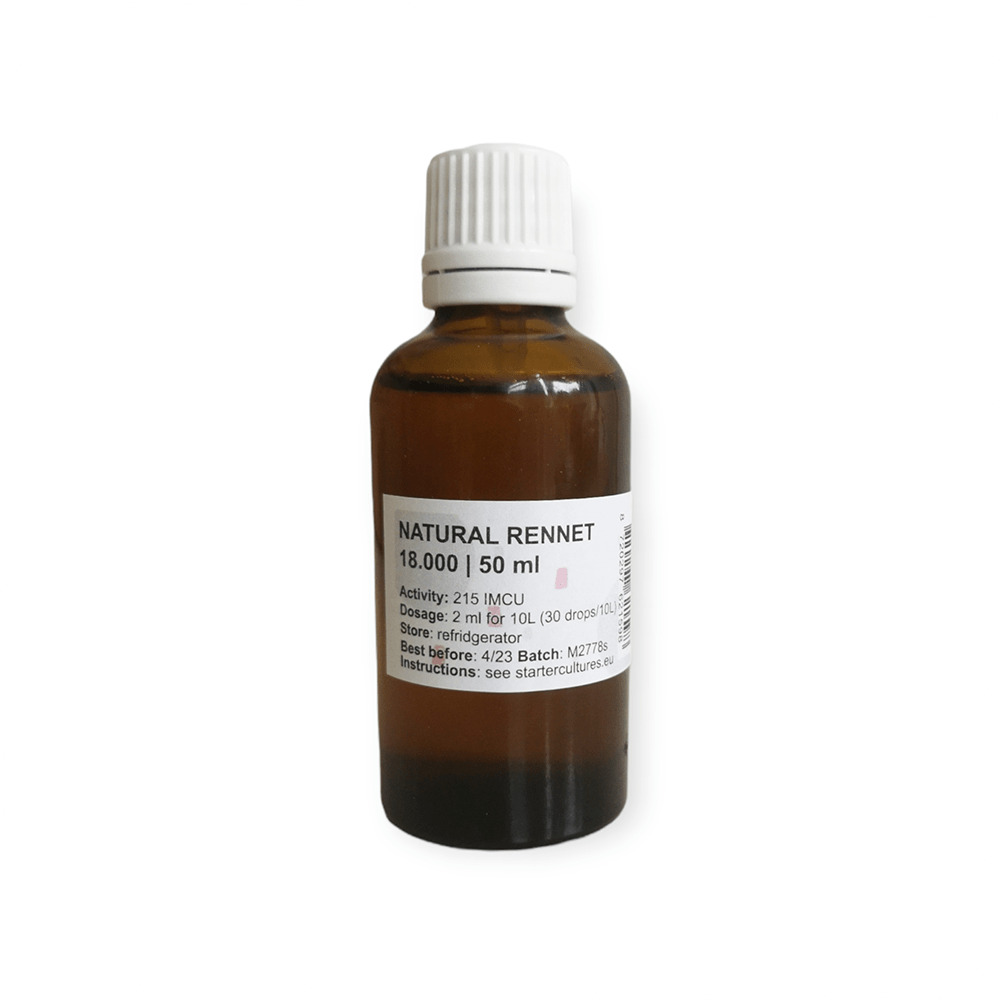
Rennet is an enzyme (traditionally chymosin) that coagulates milk, turning it from a liquid into a solid gel (curd). Without it, you can’t make cheeses. It is available in animal, microbial, and vegetable forms. Its job is to target casein, the primary protein in milk, causing the proteins to link together and trap fat and whey. Read on for more info on rennet.
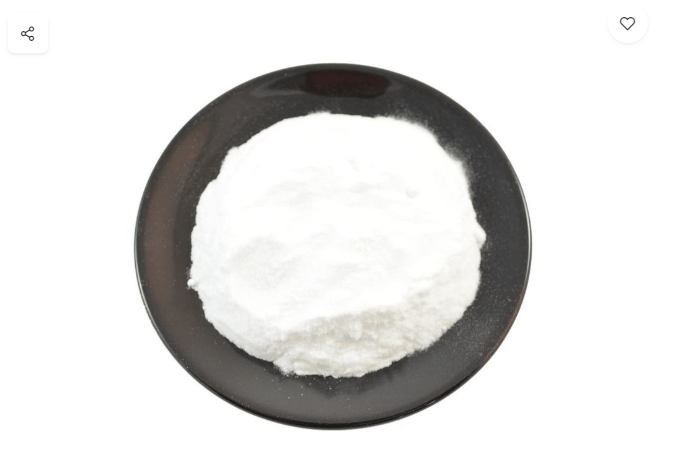
4. SALT
Salt is far more than just a flavoring agent. It plays a critical role in slowing down unwanted bacterial activity, drawing out excess moisture (whey) from the curd, helping to form a protective rind, and enhancing the cheese’s final flavor and texture. It is typically added either directly to the curds or by soaking the pressed cheese in a salt brine.
The Basic Steps of Cheesemaking
All cheeses worldwide, from the simplest fresh cheeses to the most complex aged varieties, follow roughly the same basic process:
- Heat and acidify milk
- Coagulation
- Cut the curd
- Heat (“cook”) the curd
- Drain
- Press (not for all cheese types)
- Salt
- Age
Why this sequence?
The acidification creates the right pH so the rennet can work optimally. Cutting the curd determines how much moisture remains in the cheese – smaller pieces mean more moisture loss and thus a harder cheese. Pressing creates a nice closed rind that keeps unwanted microorganisms out.
For different cheese types, steps are modified or omitted. Fresh cheeses, for example, aren’t pressed at all, while some hard cheeses are kept under pressure for extra long periods.
Gouda-Style Cheese: Your First Homemade Wheel (well, a tiny one)
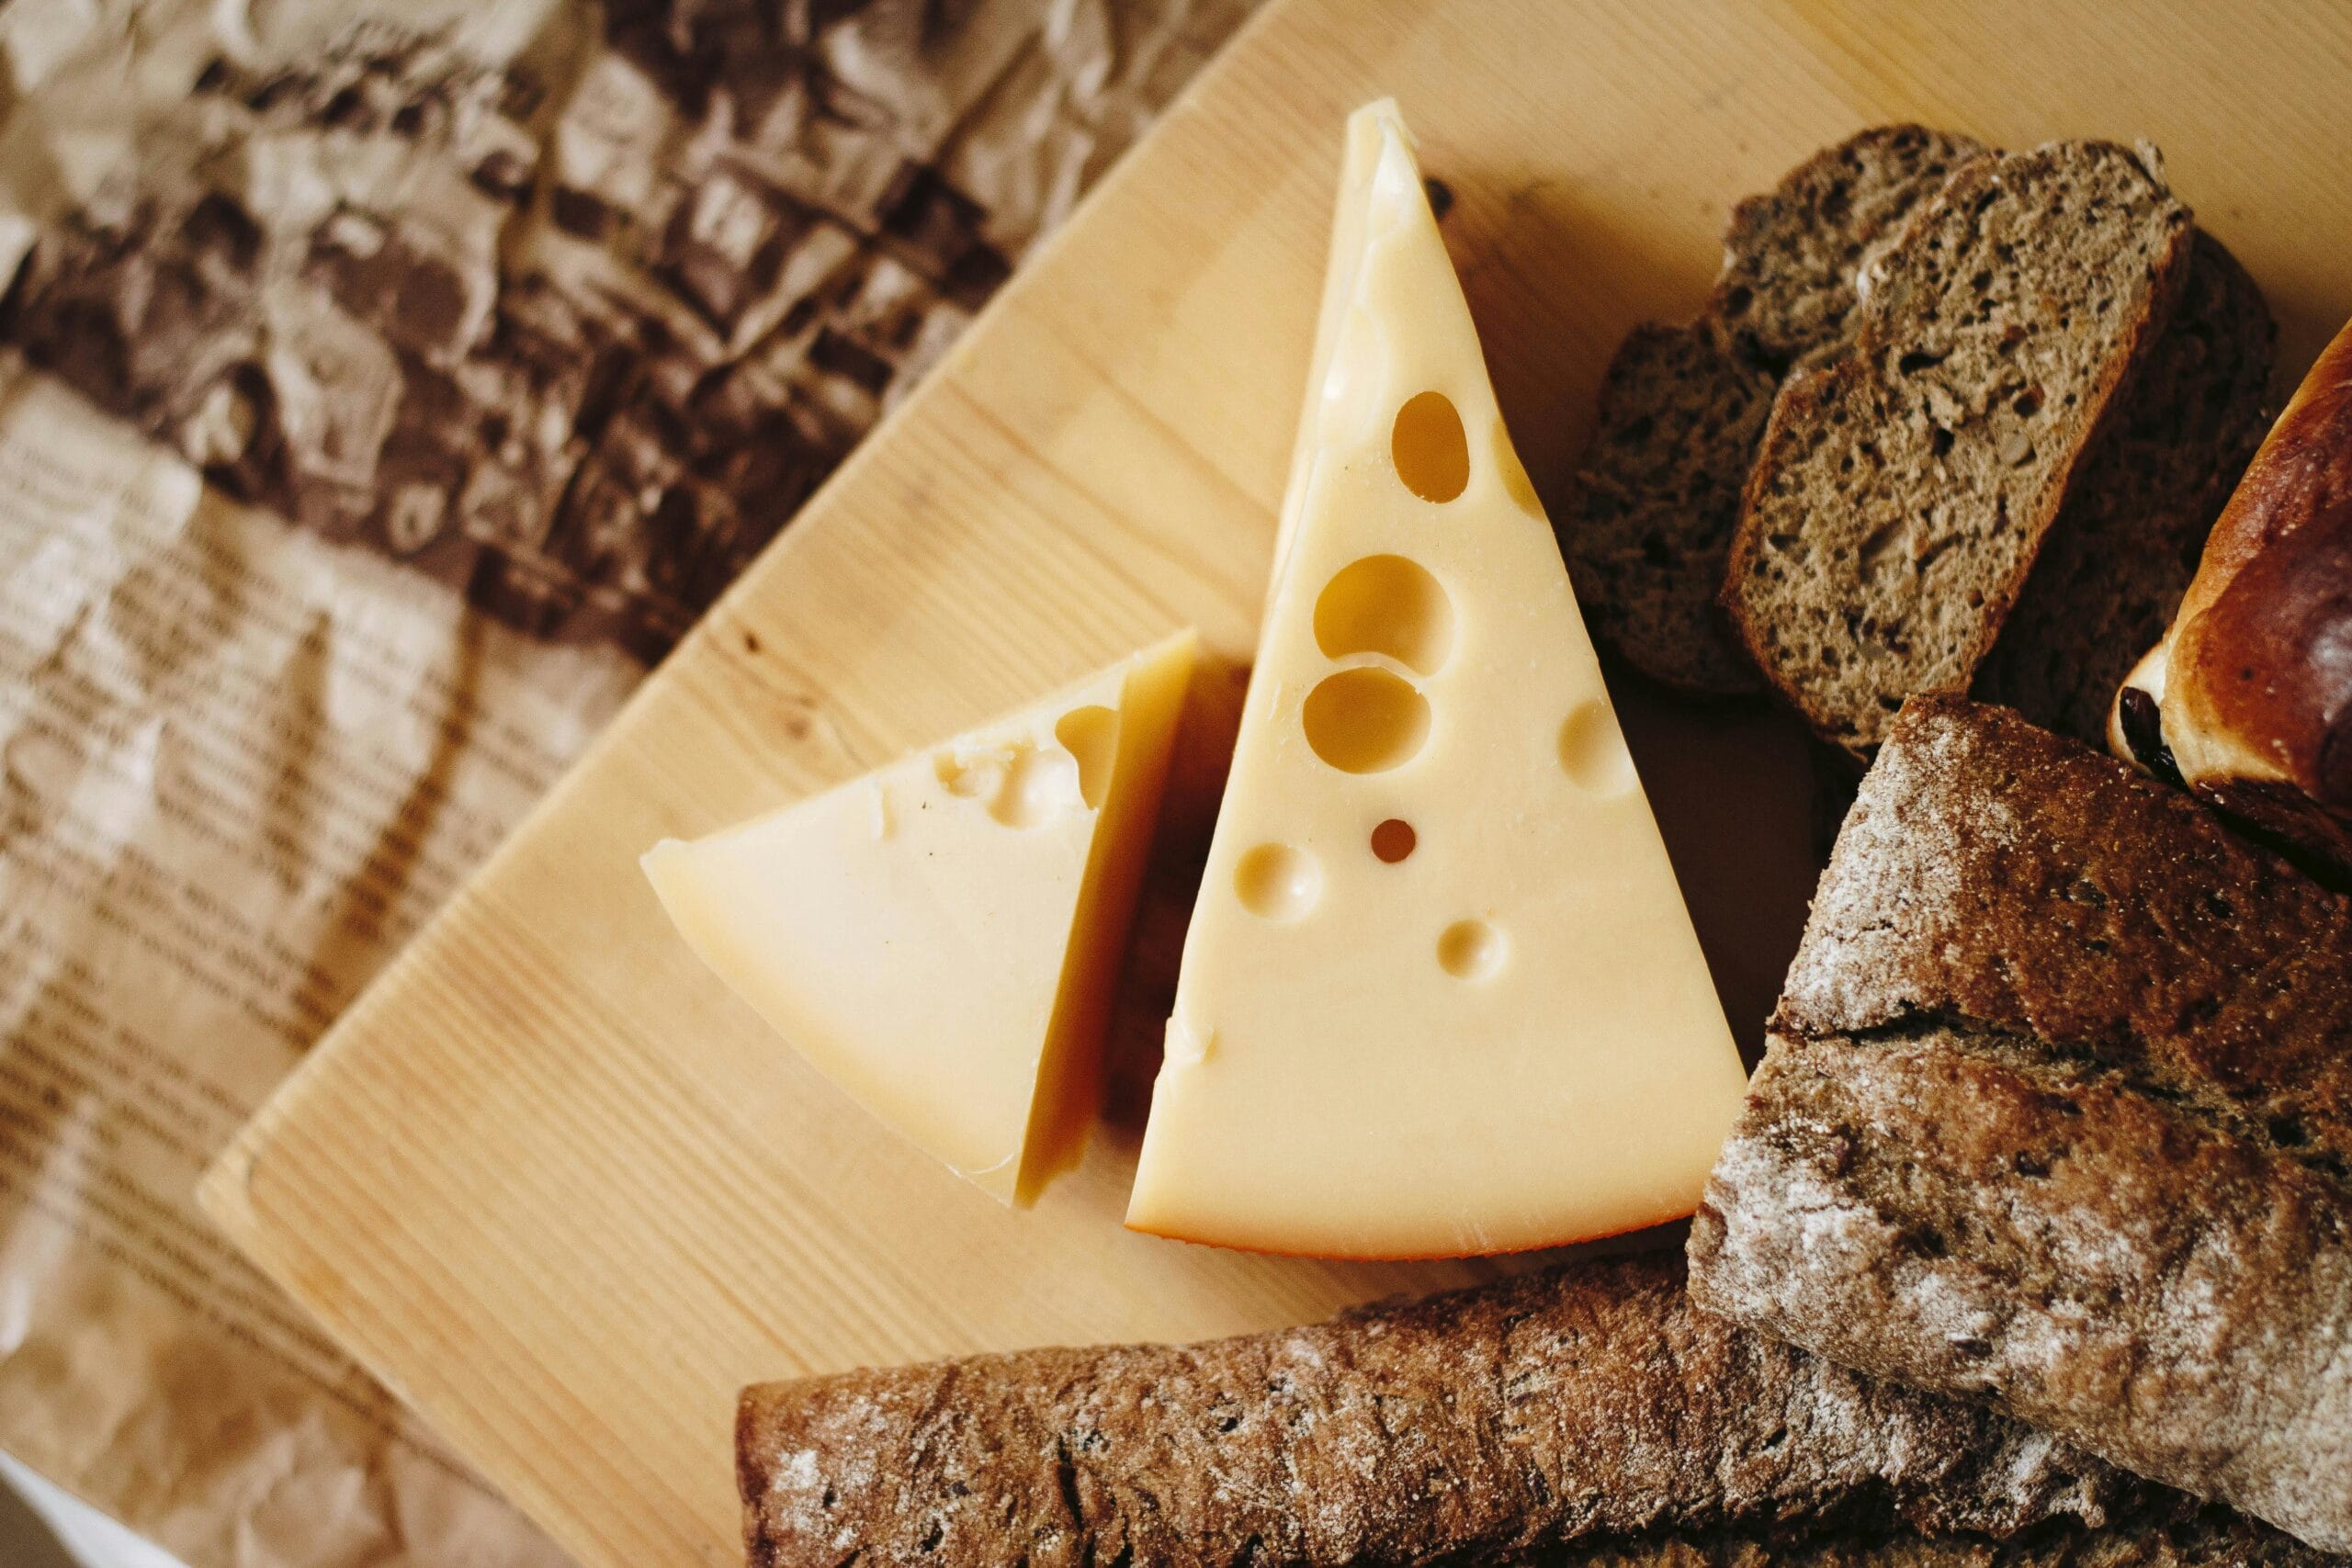
This recipe for a washed-curd cheese is perfect for beginners because it’s a manageable process that teaches the fundamental steps of making a classic hard cheese. Also, you will not need many ingredients.
Basic Equipment
Ingredients
The Process of making Gouda cheese: Step-by-Step
- Heat and Acidify: Gently heat the milk to 30-32 °C (86°F). Slow, even heating is key to protecting the milk proteins. Once at temperature, stir in the culture. Cover and let this ripen for 30 minutes, allowing the bacteria to begin their work.
- Add Coagulants: Stir in the calcium chloride, then add the rennet (diluted in a little cool water) and mix thoroughly with an up-and-down motion for one minute. Immediately stop the milk’s motion. Cover and let it set undisturbed for at least one hour, or until you achieve a “clean break”—a clean crack in the curd when you lift it with a knife.
- Cut the Curd: Once set, cut the curd into uniform, pea-sized pieces (around 1 cm or 3/8 inch). Cut vertically, horizontally, and diagonally to create small cubes. Let the curds rest for 5 minutes.
- First Wash: Carefully remove about 45% of the total mass (so 45% of 4 l) of whey. While stirring gently, slowly add hot water (around 55°C / 170°F) until the curd temperature reaches 35°C (91°F). This step “washes” the curd by removing lactose, which results in a milder, sweeter cheese. Stir gently for 30 minutes. Do not shorten this step!
- Drain and Press: Let the curds settle, then drain off all the whey (save it for ricotta!). Immediately transfer the warm curds into a cheesecloth-lined mold. Press for 30 minutes with a light weight (approx. 8x the cheese weight), then flip, re-dress, and press for 4 hours again (approx. 8x the cheese weight).
- Acidify and Brine: Remove the cheese from the press and let it sit at room temperature for 24-48 hours. This allows the bacteria to finish their work. Then, submerge the cheese for 12 hours in a 20% salt brine (200 grams of salt per liter of water).
- Dry and Age: Air-dry the cheese until the surface is no longer sticky. Apply cheese coating if desired. Age for at least 3 months at 12-15°C (54-59°F) with ~80% humidity, turning it regularly to ensure even aging.
Frequently Asked Questions
Want to learn more: try mozzarella!
What do you need to get started making mozzarella at home? Can it be made from supermarket milk? What exactly do microbes, calcium chloride and rennet do? How is it different from other cheeses like Gouda or feta? And, how do you get that distinctive soft and juicy texture in your cheese? What’s the difference between the acid method and the fermentation method?
All of these questions will be addressed in the online mozzarella making course. Of course, we will also get to work and the theory will be provided with clear instruction and demonstration of the techniques.
This course is part of our Fermentation Fundamentals education program.
About the author (Meneer Wateetons)
Meneer Wateetons (a pseudonym derived from the name of his blog, which literally means ‘Mr. what-eats-us’) is a renowned Dutch food writer, PhD scientist, teacher, fermentation expert, sausage maker, and the owner of startercultures.eu. He has written nine books on culinary topics such as fermentation, alcohol production, sausage and charcuterie making, and deep-frying. Through his books, (online) courses, and corporate trainings, he has shared his knowledge with countless hobby cooks, chefs, and food professionals. Learn more about Meneer Wateetons.
Related Posts
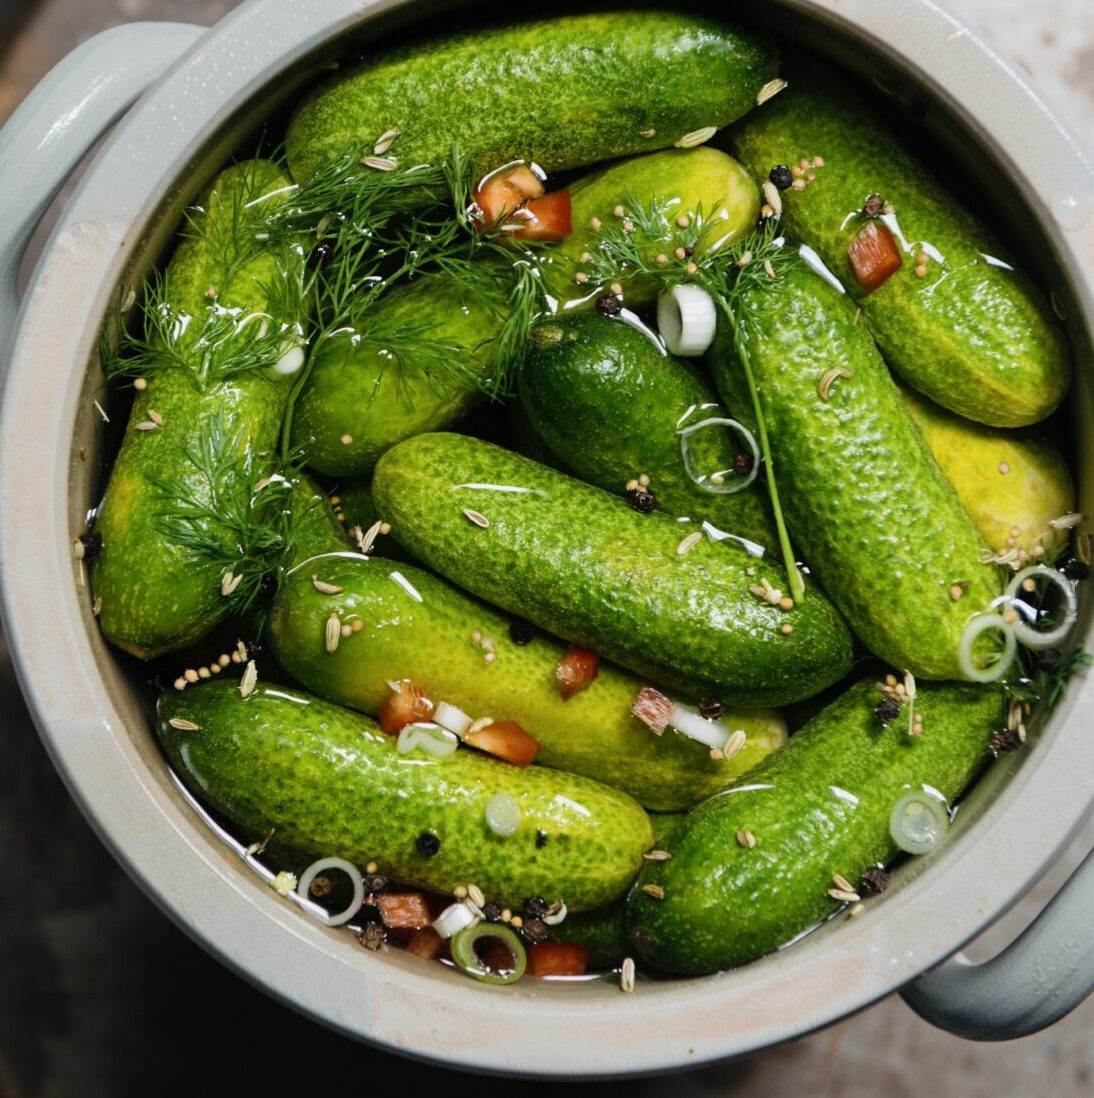
How to make your own real fermented pickles
Learn how to make your own crunchy fermented pickles. Easy recipe with tips, variations, and answers to common questions.
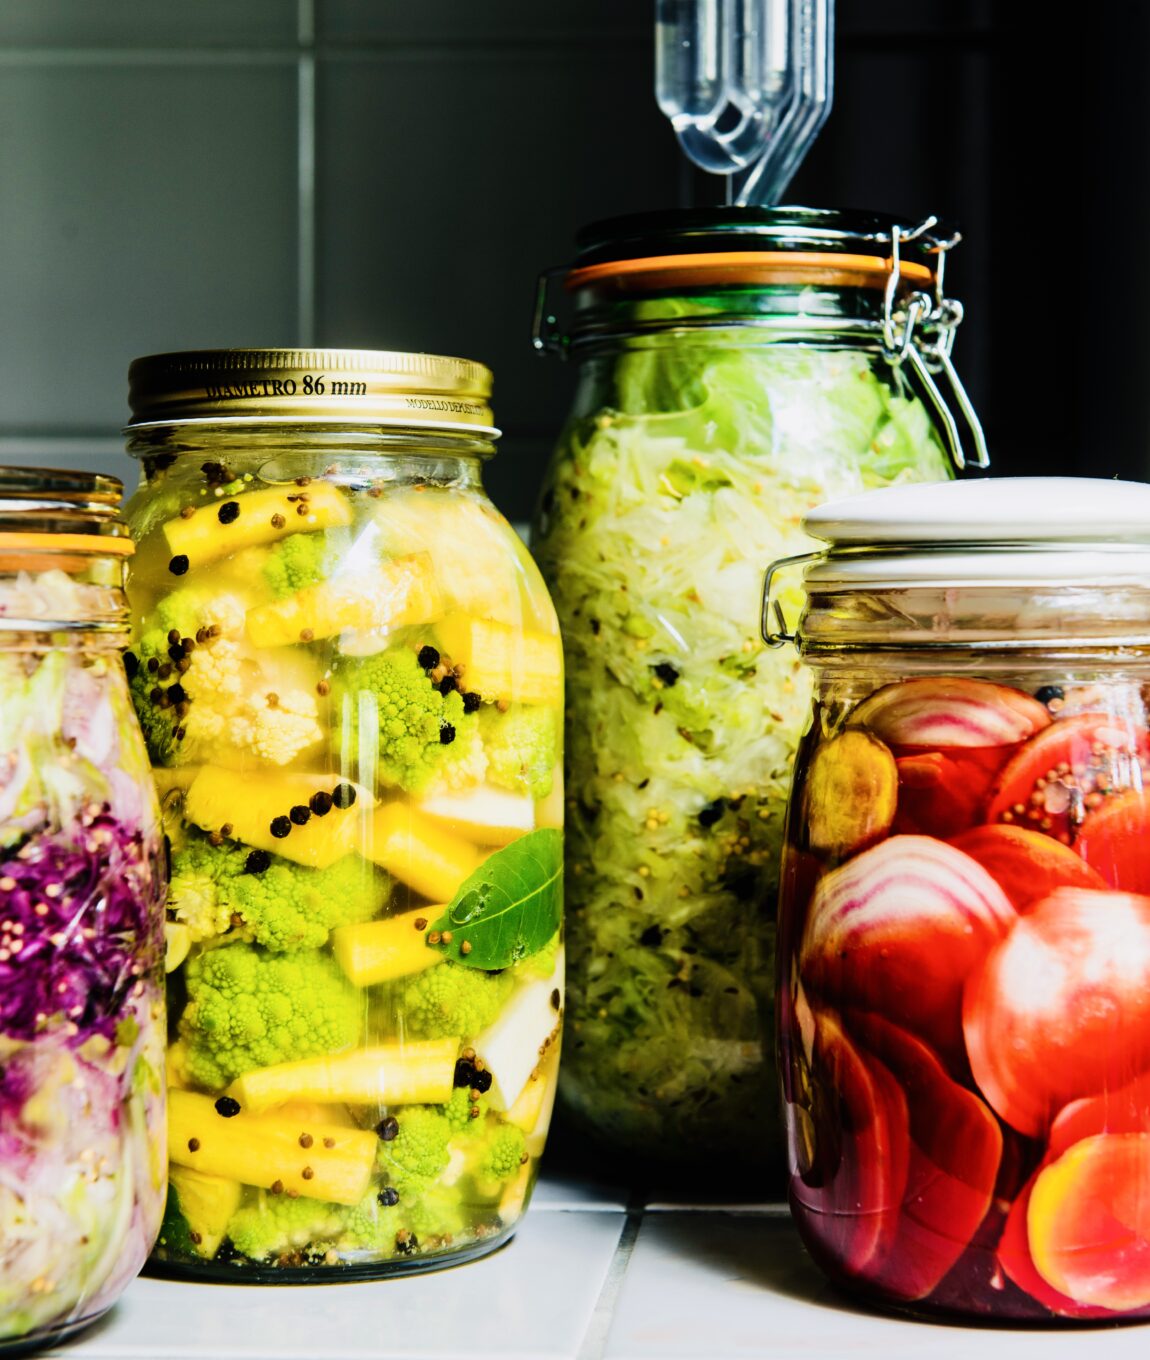
How to Ferment Vegetables: A Beginner’s Step-by-Step Guide
Learn the simple art of vegetable fermentation. This guide covers the science, the right salt ratio, and includes an easy sauerkraut recipe to start your first successful ferment today.

How to make -actually fermented- vegan cheese at home
Remember those sad, rubbery blocks that passed for vegan cheese a decade ago? Thank goodness those days are behind us. Thanks to dedicated pioneers and fermentation enthusiasts, we can now create vegan cheeses at home that actually compete with their dairy counterparts in both taste and texture. In this blog we'll teach you how to.

