How to make yogurt at home

Category: Dairy

Anyone can buy yogurt. Nothing wrong with that. But once you pull your first jar of homemade yogurt from the fridge and taste it, creamy and fresh, with exactly the thickness and tang you like, there’s no going back. Making yogurt at home is surprisingly simple: all you need is milk, a starter culture, some warmth and a bit of patience.
Below you’ll find everything about the process, the different styles (from Greek yogurt to skyr) and answers to just about every question you could have about making yogurt.

Where does yogurt come from?

The word yogurt comes from Turkish and roughly means ‘thick’ and ‘to knead’. That sums it up well. Yogurt most likely originated somewhere in the Middle East, though people in North Africa and India have been making their own versions of fermented milk for thousands of years. Anywhere people kept dairy animals and the climate was warm enough, some form of yogurt appeared on its own.

In the West, yogurt only became popular in the early twentieth century, when Russian Nobel Prize winner Ilya Mechnikov found a link between the consumption of fermented milk and longer life expectancy. That research was later heavily criticised, but it put yogurt on the map for a broad audience overnight. The real supermarket breakthrough, of course, came with the invention of strawberry and peach yogurt.

Despite its old and distant roots, yogurt feels very much at home in Western kitchens today.

yoghurt

How do you make yogurt?

The principle is simple: you add live lactic acid bacteria to warm milk and let them do their work. The bacteria convert lactose (milk sugar) into lactic acid, which thickens the milk and gives it that typical yogurt flavour and texture. This process is called fermentation. The key variables are: which lactic acid bacteria you use, what kind of milk you start with and what temperature you ferment at.

What do you need?

You need three things: milk, a yogurt starter culture and a way to keep the milk at the right temperature. For most types of yogurt (thermophilic yogurt) that means around 42-43 °C. A yogurt maker is the most convenient option, but there are plenty of alternatives (see “Making yogurt without a yogurt maker” below).

Making yogurt step by step

  1. Heat the milk to about 90 °C and hold that temperature for ten minutes. This produces a thicker yogurt because the proteins change structure. With long-life (UHT) milk you can skip this step entirely. Yogurt made from regular pasteurised milk from the supermarket fridge, or raw milk, will always be a bit thinner.
  2. Let the milk cool to 42-43 °C.
  3. Stir in the starter culture.
  4. Pour the milk into jars or leave it in the pan and keep everything at temperature.
  5. After five to eight hours, check whether the yogurt has set enough: tilt the jar gently. If the mass moves as a whole, it’s ready.
  6. Put the yogurt in the fridge. After a few hours of cooling the texture firms up further and the flavour deepens.

Tip: Always set aside a few tablespoons of yogurt in a clean jar. You can use this as a starter for next time. Read more about this below under “Starter culture or recultivation?”.

Thermophilic and mesophilic: two types of yogurt cultures

Not all yogurt cultures work at the same temperature. The difference between thermophilic and mesophilic is the first thing you need to know when you start making yogurt, because it determines what equipment you need.

Thermophilic cultures (‘heat-loving’) ferment at 40-45 °C. This includes most familiar yogurt types: regular yogurt, Greek yogurt, Bulgarian yogurt and skyr. You need a yogurt maker or another stable heat source to maintain that temperature for hours.

Mesophilic cultures ferment at 20-30 °C, so just at room temperature. Examples include filmjölk (Swedish), matsoni (Georgian) and viili (Finnish). The taste and texture differ from thermophilic yogurt: often milder, sometimes a bit more viscous. Big advantage: no yogurt maker needed.

Starter culture or recultivation?

There are two ways to get your yogurt bacteria: use a freeze-dried yogurt starter, or save part of your previous batch and reuse it. The latter is called recultivation (or re-culturing).

Starter culture

A freeze-dried starter culture is a sachet of carefully selected bacterial strains. You dissolve it in warm milk and you know exactly what you’ll get: which strains are in there, in what ratio and what kind of yogurt it produces. One sachet is enough for dozens of litres. Sachets keep for a long time in the freezer and are easy to store. You don’t need to make yogurt every week to keep your culture alive.

We sell more than twenty yogurt cultures for specific yogurt types: from Greek yogurt and Bulgarian yogurt to skyr and goat milk yogurt. Each culture is selected for a specific flavour profile and texture.

Recultivation

Recultivation means setting aside a few tablespoons of yogurt in a clean jar after each batch and using that as the starter for next time. This is the traditional way and it works well, as long as you do it regularly.

The downside is that the culture weakens or goes out of balance over time. You’ll notice thinner yogurt, longer fermentation times or a change in flavour. On top of that, each round carries a small risk of contamination with unwanted micro-organisms, especially if you’re not strictly hygienic. And you have to keep making yogurt regularly: skip a few weeks and your culture dies off.

Always store your recultured starter separately in a clean jar, without fruit, sugar or other additions. Scoop the starter out before you start eating the rest of the yogurt.

What do we recommend?

Start with a starter culture. The first batch almost always works, you know exactly what kind of yogurt you’ll get, and afterwards you can decide for yourself whether to try recultivation. In that case, keep a fresh sachet of starter culture as backup: if your recultured culture stops performing after a number of rounds, you simply start over.

Making yogurt without a yogurt maker

For thermophilic yogurt (most types, including Greek, Bulgarian and skyr) the milk needs to stay at 42-43 °C for five to twelve hours. A yogurt maker does exactly that: constant temperature with no effort.

But a yogurt maker is not required. An oven on its lowest setting, an instant pot with a yogurt function, a sous vide circulator, a thermos flask or even a pan wrapped in blankets: all of these work. These methods do need more attention than a yogurt maker, especially the first few times. Check the temperature with a kitchen thermometer.

Want to avoid temperature management altogether? Choose a mesophilic culture. Filmjölk, matsoni or viili ferment on the counter at room temperature. No yogurt maker needed, no thermometer. On our yogurt page you can read more about the different options.

yoghurtmaker

Making Greek yogurt

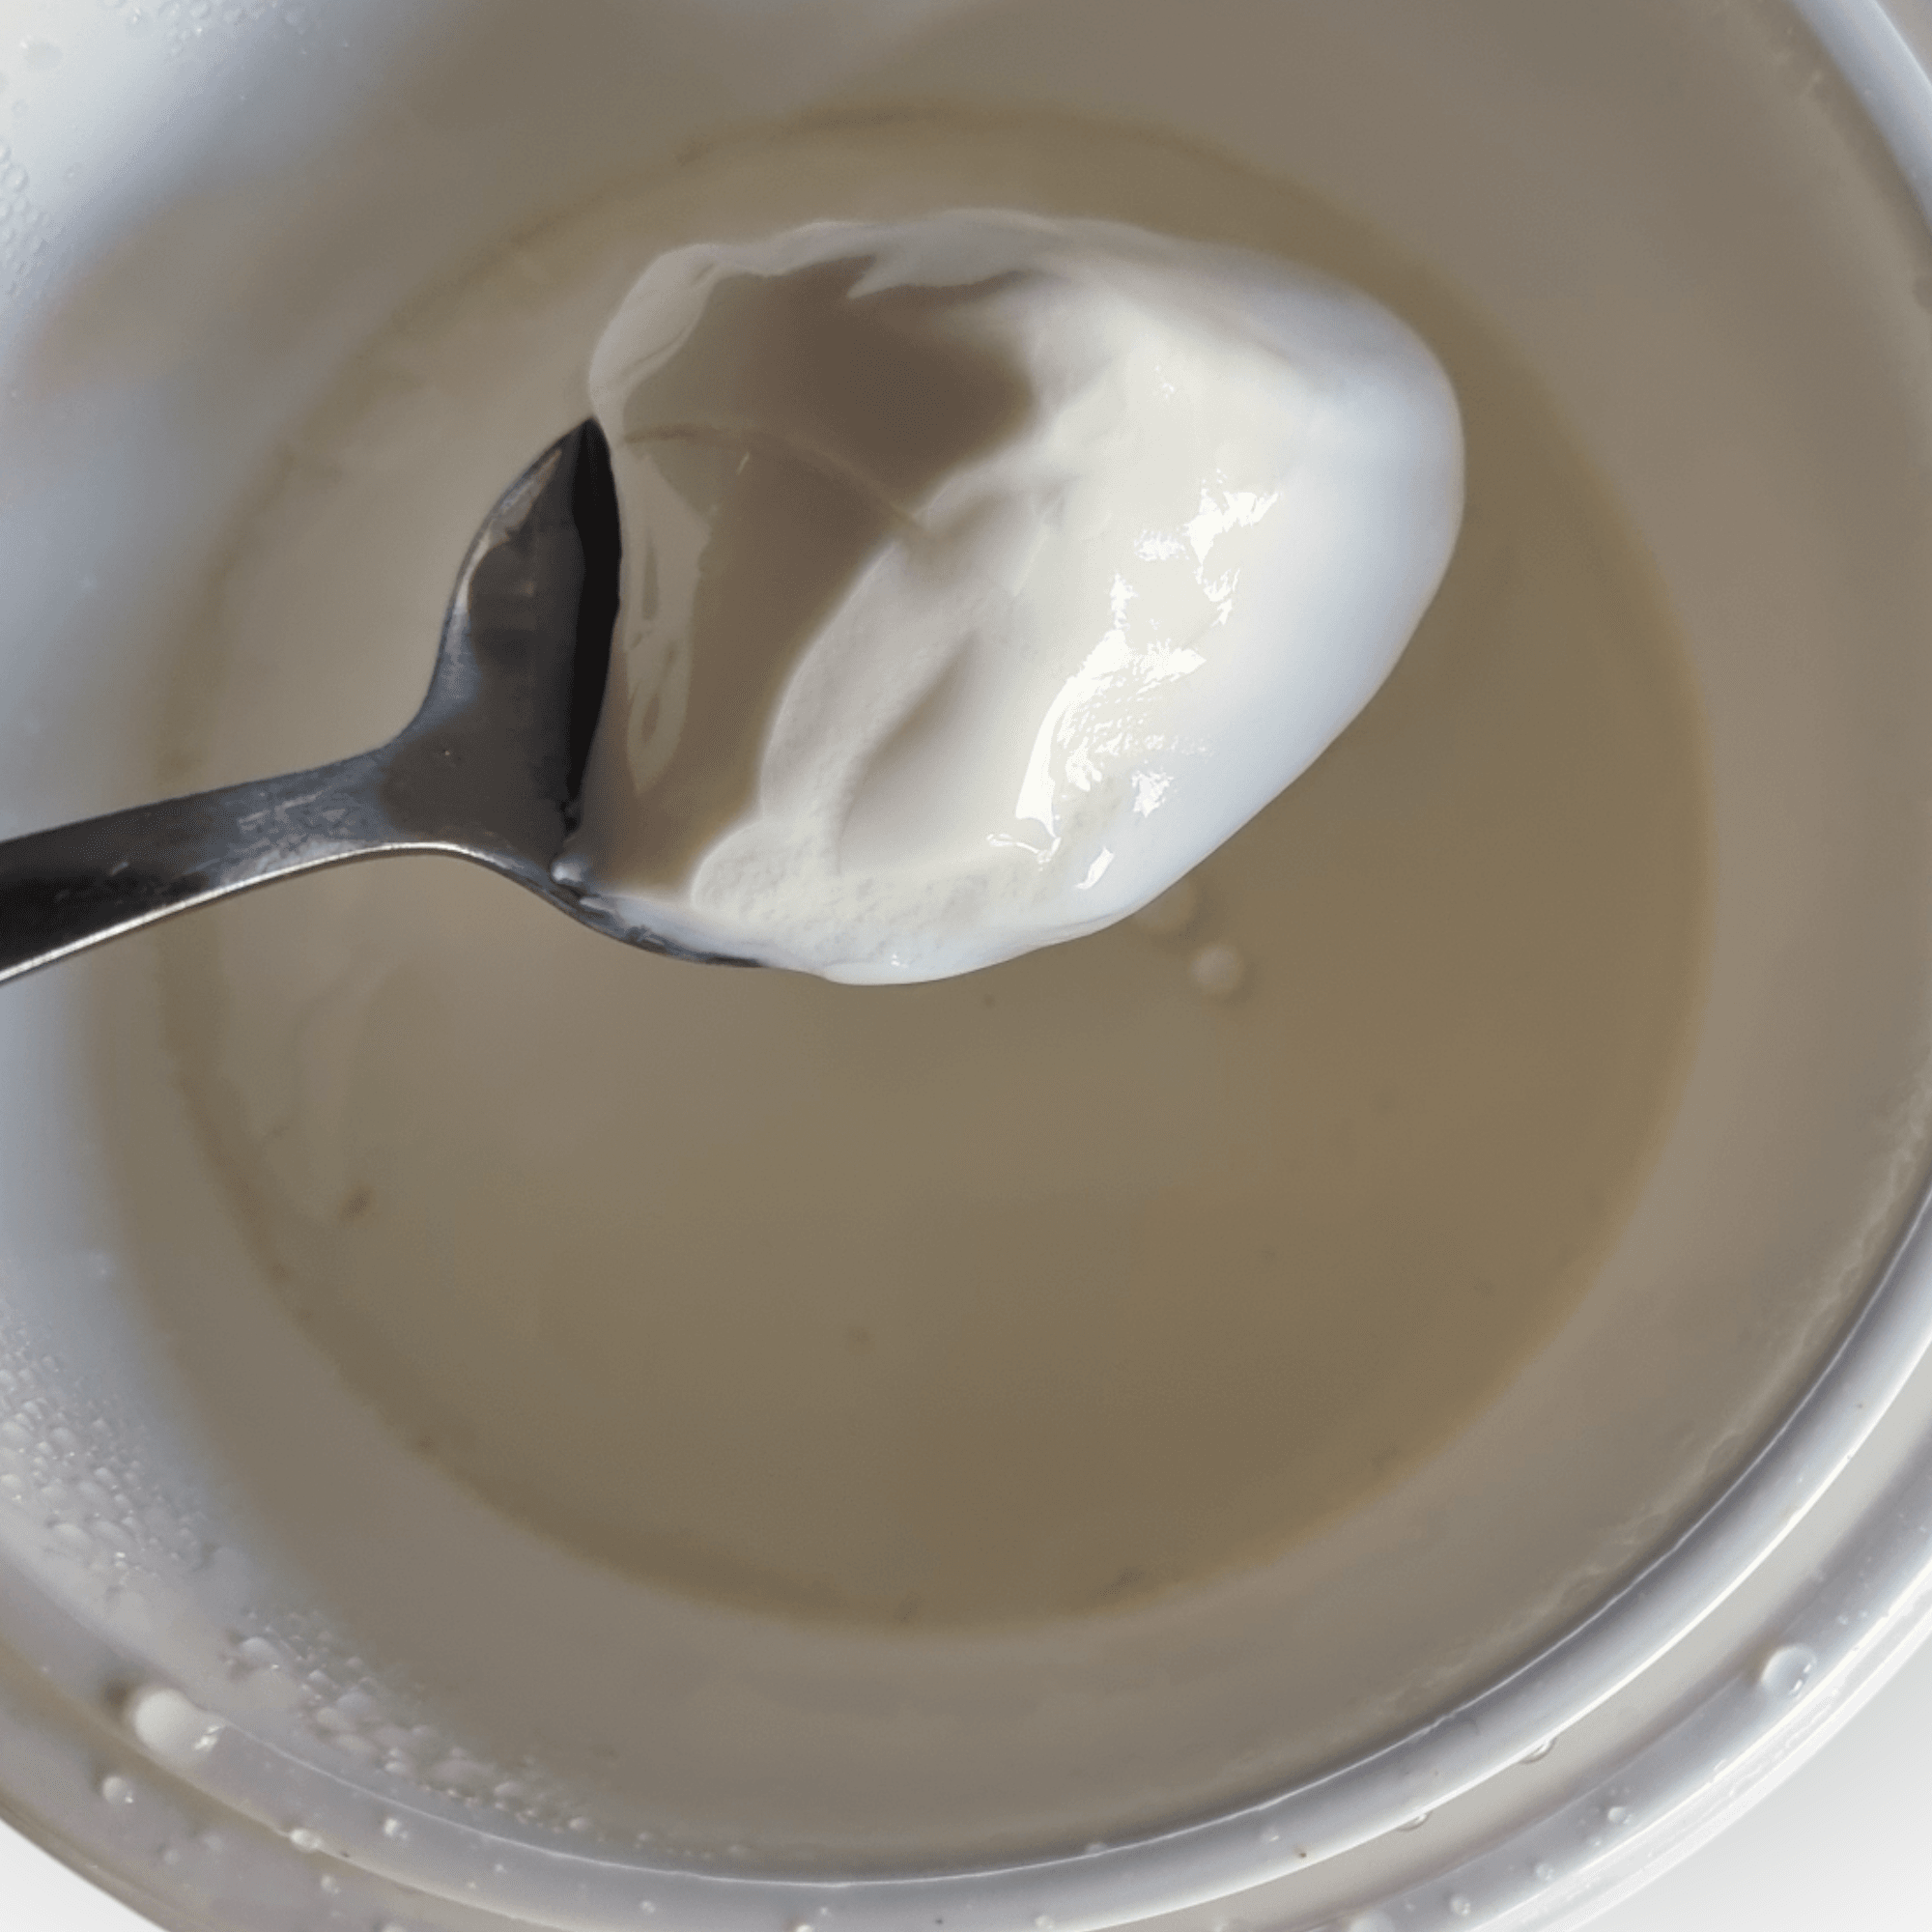
Greek yogurt is really just regular yogurt that you strain after fermentation. By removing part of the whey (the liquid), the yogurt becomes thicker, creamier and higher in protein.

You make Greek yogurt by first fermenting yogurt the usual way. Use a Greek yogurt starter culture selected for a rich, mild profile. Ferment at around 43 °C for about 6 hours until the yogurt is properly thick.

Then pour the yogurt into a fine sieve, cheesecloth or coffee filter over a bowl and let the whey drain out. After two to four hours you’ll have a thick, rich Greek yogurt. If you let it drain longer (eight hours or more) you end up with something closer to strained yogurt or labneh.

Whole milk gives the best results. You can also make Greek yogurt from skimmed milk, but the texture will be thinner. Straining removes whey and with it some of the lactose, so Greek yogurt contains slightly less lactose than regular yogurt.

Tip: The leftover whey is perfectly usable: in bread dough, smoothies, soup or as a starter for making sauerkraut.
Making Bulgarian yogurt

Bulgarian yogurt is the original form of yogurt. The name refers not just to the country of origin, but also to the bacterium Lactobacillus delbrueckii subsp. bulgaricus, which together with Streptococcus thermophilus is responsible for the fermentation.

Bulgarian yogurt has a pronounced sour taste and a firm texture. The difference with ‘regular’ yogurt is mainly in the specific bacterial strains and the longer fermentation time.

Use a Bulgarian yogurt starter culture and ferment at 42-43 °C. Bulgarian yogurt often needs a bit more time than standard yogurt: count on eight to twelve hours, depending on how sour you want it. The longer the fermentation, the sourer and thicker the yogurt.

Whole milk is recommended for the best-tasting Bulgarian yogurt.

Making skyr

Skyr is an Icelandic dairy product that sits somewhere between yogurt and fresh cheese. Traditionally, skyr is made from skimmed milk and strained, which gives it a remarkably high protein content with very little fat: roughly 2.5 times more protein than regular yogurt.

Despite the similarities with yogurt, the preparation process is slightly different. Skyr ferments, like yogurt, with thermophilic bacteria at about 43 °C. The fermentation time is comparable: six to eight hours, longer if you want a sourer end product.

After fermentation you strain the skyr, similar to Greek yogurt but often even longer. After straining you have a very thick, mild mass that you can scoop with a spoon.

Use a skyr starter culture for the most authentic flavour. Skyr has traditionally been made from skimmed milk, and this is one of the few fermentations where skimmed is actually preferred. If you use whole milk, the flavour will be richer but less ‘authentic’.

Recommended products

Frequently asked questions about making yogurt

There are several possible causes. The most common: you forgot to heat the milk to 90 °C first (or to use long-life milk). Another: the temperature was too low. Thermophilic yogurt cultures want to sit around 42-43 °C. If the temperature drops too far, the bacteria work too slowly or stop entirely.

Other causes: you used too little starter, the starter was no longer active, or you used skimmed milk (which always gives thinner yogurt). Whole milk and pre-heating to 90 °C produce the thickest yogurt. You can also add a teaspoon of milk powder per litre of milk as a thickener.

A grainy texture usually happens when the milk was heated too quickly. Heat the milk gradually and stir regularly. If the milk reaches 90 °C too fast, the proteins can curdle unevenly and you get grains.

An old or weakened starter can also cause graininess. In that case: start with a fresh culture.

A certain amount of sliminess is normal for yogurt. A slimy, stringy yogurt usually points to a so-called “ropy” (thread-forming) culture. Some bacterial strains produce exopolysaccharides, a type of slime that gives the yogurt a smooth but sometimes stringy texture. This is not harmful and the yogurt is not spoiled. Filmjölk and viili are a well-known example: they are naturally more viscous than standard yogurt.

If you don’t want this, use a different starter culture. A set yogurt starter typically gives a firm, non-slimy texture.

Yogurt gets more sour the longer it ferments or the higher the temperature. The lactic acid bacteria keep producing lactic acid as long as there is lactose available and the temperature allows it.

Want milder yogurt? Shorten the fermentation time and get the yogurt into the fridge sooner. The cold slows the bacteria down significantly. Fermenting at the lower end of the temperature range (40-41 °C instead of 43-44 °C) also gives a milder result. Mesophilic yogurts are also milder than thermophilic ones.

Bitterness is less common than excess sourness, but it happens. The most frequent cause is too much starter: if you add too much culture, it gets too crowded for the bacteria and they can produce a bitter off-flavour.

Another cause: over-culturing. If you have recultured your starter too many times without using a fresh culture, the bacterial strains can go out of balance. In that case, start over with a fresh sachet of starter culture.

Separation into a solid mass (curd) and a clear liquid (whey) is a sign of too long fermentation, too high temperature or both. The bacteria have then produced so much lactic acid that the protein structure has contracted too strongly, squeezing out the liquid.

This does not mean the yogurt is spoiled. Just stir the whey back in for thinner yogurt, or pour it off for thicker. Adjust the fermentation time and temperature next time.

A layer of clear liquid on top of your yogurt is perfectly normal. This is whey, a by-product of fermentation. Every yogurt produces whey, including supermarket yogurt, but manufacturers drain it off or bind it with thickeners.

You can pour the whey off for thicker yogurt, or stir it in. Whey contains protein and minerals, so throwing it away is a waste.

If the yogurt does not set at all and just stays liquid milk, there are quite a few possibilities. The starter was no longer alive (too old, stored incorrectly, or killed by milk that was too hot). The temperature was too low or too high. You forgot to heat the milk first. It could also be that you did not stir the starter through the milk well enough. Another common mistake: giving a mesophilic yogurt type (room temperature to 32 degrees) a thermophilic temperature (40+) or the other way around.

Always check: had the milk cooled to 42-43 °C before you added the starter? Was the starter fresh and stored correctly (in the freezer, dry)? Did the temperature stay stable during fermentation? Change one factor at a time so you can see what makes the difference.

Yes. Fermenting too long makes the yogurt increasingly sour and can eventually lead to separation into curd and whey. The yogurt is not necessarily spoiled, but the flavour can become unpleasantly sour.

For most thermophilic yogurt types, five to twelve hours is enough. Longer than 24 hours is almost never necessary and rarely desirable, unless you deliberately want a very sour yogurt.

Absolutely. Above 45-46 °C most thermophilic yogurt cultures start struggling. Above 50 °C they die. If the milk was too hot when you added the starter, you may have killed the bacteria and the yogurt will not set.

Always measure with a kitchen thermometer. ‘Feels warm’ is not accurate enough: the difference between 43 °C and 50 °C is barely noticeable with your finger, but for the bacteria it is the difference between life and death.

Whole cow’s milk gives the thickest, creamiest yogurt. Semi-skimmed works fine but produces thinner yogurt. Skimmed milk gives a fairly watery result, unless you add milk powder or another thickener.

Pasteurised milk and long-life milk both work well, but pasteurised milk needs to be heated first. Fresh milk from the farm works too, but read the raw milk question below.

Goat’s milk, sheep’s milk and buffalo milk are all suitable. Sheep’s milk is extra high in protein and often produces remarkably thick yogurt. Goat’s milk gives a thinner yogurt with its own fresh, tangy character. We sell a starter culture specifically for goat milk yogurt.

Tip: Jersey milk makes wonderfully thick yogurt!

Yes, and it is actually quite convenient. UHT milk has already been heat-treated, so you do not need to pasteurise or pre-heat it separately. You can warm it straight to 42-43 °C, add the starter and ferment. You will not taste the difference with pasteurised milk in the finished yogurt. We use it all the time.

You can, but with a caveat. Raw milk contains its own micro-organisms that can compete with or weaken the yogurt culture. If you still want to use raw milk, keep a separate mother culture in pasteurised or UHT milk. Use that clean mother culture to start a batch with raw milk, but do not save any of that raw-milk yogurt as a starter for the next round. Also, raw-milk yogurt usually does not get as thick.

There are also food safety risks with raw milk. Work extra hygienically and critically assess smell, appearance and taste. When in doubt, heated milk is the safer choice.

Yes, both work well. Sheep’s milk often produces an extra-thick yogurt thanks to its high protein content. Goat’s milk gives a thinner yogurt with its own character. The fermentation procedure is the same as with cow’s milk: heat, cool, inoculate, ferment.

For goat’s milk we have a specific starter culture tailored to the different protein profile of goat’s milk.

That is trickier. Plant-based drinks (soy, oat, almond, coconut) do not have the same proteins and sugars as animal milk. The yogurt will often be thinner and the fermentation process works differently.

Soy milk gives the best yogurt of all plant-based options because soy proteins curdle reasonably well. Oat milk and almond milk usually stay liquid, so you will need a thickener (agar agar, tapioca starch or xanthan gum). Because most plant-based drinks contain no lactose, you sometimes need to add a small amount of sugar as food for the bacteria. We have a separate online course on making plant-based yogurt.

Use a starter culture suitable for plant-based fermentation, such as our soy yogurt starter or vegan yogurt starter. Do not maintain a regular dairy culture on plant-based milk: always use a separate mother culture on cow’s milk for that.

In principle yes, as long as the yogurt contains ‘live cultures’ (check the label). But the results are less predictable than with a proper starter culture. Manufacturers optimise supermarket yogurt for taste and shelf life, not for repeated recultivation. After a few rounds the culture often weakens.

A freeze-dried starter culture is specifically selected for multiple recultivations and gives more consistent yogurt. But to see if making yogurt is for you, a tub of full-fat Greek yogurt from the supermarket works fine as a starter.

If you are using a freeze-dried starter culture: follow the instructions on the packaging. Our set yogurt starter contains 3 grams for 20 litres. For 1 litre of milk you need about 0.15 grams. That is hard to weigh without a precision scale, so it is more practical to use more milk on the first go.

If you are using yogurt from a previous batch as a starter: count on roughly one to three tablespoons per litre of milk.

It depends on your milk. UHT milk (long-life) only needs to be warmed to fermentation temperature (42-43 °C). Fresh pasteurised milk can also be warmed directly to fermentation temperature, but pre-heating to 90 °C for ten minutes gives a thicker yogurt. That is because the whey proteins denature at that temperature and bind better.

For raw milk, heating to at least 72 °C is important to kill unwanted micro-organisms.

You do not have to heat the milk to 90 °C, but we do recommend it, it improves the texture enormously. It is worth testing the difference for yourself.

Set yogurt is fermented briefly (two to six hours) at a high temperature (40-45 °C). The yogurt sets directly in the jar and is firm enough to scoop. Stirred yogurt is fermented longer (fourteen to eighteen hours) at a lower temperature (around 30-32 °C). After fermentation you stir it, which gives a liquid, pourable yogurt.

In the Netherlands we mostly know stirred yogurt: you pour it from a carton. Most other Europeans prefer set yogurt. Greek, Bulgarian and Turkish yogurt are all basically varieties of set yogurt, sometimes strained for extra thickness.

Yogurt and kefir are both fermented dairy products, but the difference is in the culture. Yogurt is fermented with specific lactic acid bacteria (mainly Lactobacillus and Streptococcus). Kefir is fermented with kefir grains: a complex mix of dozens of species of bacteria and yeasts.

You can tell the difference by taste and texture. Kefir is thinner and drinkable, slightly fizzy from the carbon dioxide the yeasts produce, and has a more complex, tangier flavour. Yogurt is thicker, milder and not fizzy. Kefir also contains a very small amount of alcohol from the yeasts (usually under 1%).

The preparation also differs: kefir grains are a physical clump that you sieve out after each fermentation and reuse. The grains grow on their own, which makes recultivation with kefir very easy.

In the fridge, homemade yogurt keeps for at least one to two weeks. Some types last longer, but the flavour gets more sour over time because the bacteria remain (slowly) active, even in the cold.

Always store yogurt well sealed and refrigerated. Use clean utensils to scoop from it. Whey separation is normal and not a sign of spoilage.

Trust your nose and eyes. Fresh yogurt smells sour but clean. Spoiled yogurt smells musty, yeasty or rancid. Visible mould (pink, green or black spots) always means: throw it away, including the layer around it.

A strong yeasty smell or bubbles in the yogurt point to contamination with wild yeasts. This can happen if you ferment near a sourdough starter, or if your equipment was not clean enough.

When in doubt: do not eat it. Making a new batch is always cheaper than getting ill.

A yeasty smell or foamy texture points to yeast contamination. This can come from cross-contamination with a sourdough starter, wild yeasts from the air, or insufficiently clean equipment.

Throw the yogurt away, clean all your materials thoroughly and start again with fresh milk and a fresh starter culture. Do not ferment in the same room where you keep sourdough, or wash your hands well if you work with both.

Not completely lactose-free, but lower in lactose than milk. During fermentation, the bacteria convert part of the lactose into lactic acid. The longer you ferment, the less lactose remains. After 24 hours of fermentation, most of the lactose is gone.

Many people with mild lactose intolerance therefore tolerate homemade yogurt better than milk or shorter-fermented supermarket yogurt. But yogurt made from cow’s milk never becomes completely lactose-free. If you have a severe intolerance, consult your doctor.

Online course: make your own yogurt

Learn all about making your own yogurt and other fermented dairy in this live online workshop from fermentation expert and author of the fermentation handbook Meneer Wateetons.

✅ Expand your yogurt knowledge. Learn the difference between set and stirred yogurt and thermophilic and mesophilic dairy types.
✅ Understand how micro-organisms turn milk into yogurt and other fermented dairy through fermentation.
✅ Discover that supermarket dairy is just the tiny tip of the worldwide yogurt iceberg.
✅ Learn how to make your own yogurt from nothing more than supermarket ingredients and things you already have at home.
✅ Start making exotic dairy products like skyr, ymer, piima or amasi.
✅ After completing the course, you’ll be able to turn a single tablespoon of yogurt into a supply that lasts a lifetime.
✅ Permanent access: the workshop can be taken at any time and lasts about 90 minutes.


About the author (Meneer Wateetons)

Meneer Wateetons is a Dutch culinary author, educator, fermentation specialist, sausage maker and the owner of startercultures.eu. He has written 9 books on culinary topics such as fermentation, alcohol production, sausage making and charcuterie, and deep-frying. He has been teaching workshops and courses to hobbyists, chefs and food professionals on these subjects for years.

Leave A Comment

Related Posts

  • Preserved lemons: how to salt-cure and ferment your own

    Preserved lemons are a Moroccan staple. We cover two routes: the classic salt-cured method, and a low-salt version that genuinely ferments. Plus variations, peel advice and common mistakes.

  • What is kombucha?

    What is kombucha? Discover what this tangy fermented tea drink is: the SCOBY, the flavour, where it comes from, and how to brew and drink it yourself.

  • How to make sauerkraut – including a recipe

    How to make sauerkraut: recipe and everything about fermentation Category: Fermentation Making sauerkraut is one of the easiest things you can do [...]